Customization
Overview
In this section, learn how to customize the Kommunicate SDK according to your requirements.
Note: Add these customization codes either in AppDelegate
didFinishLaunchingWithOptionsmethod or before creating the conversation.
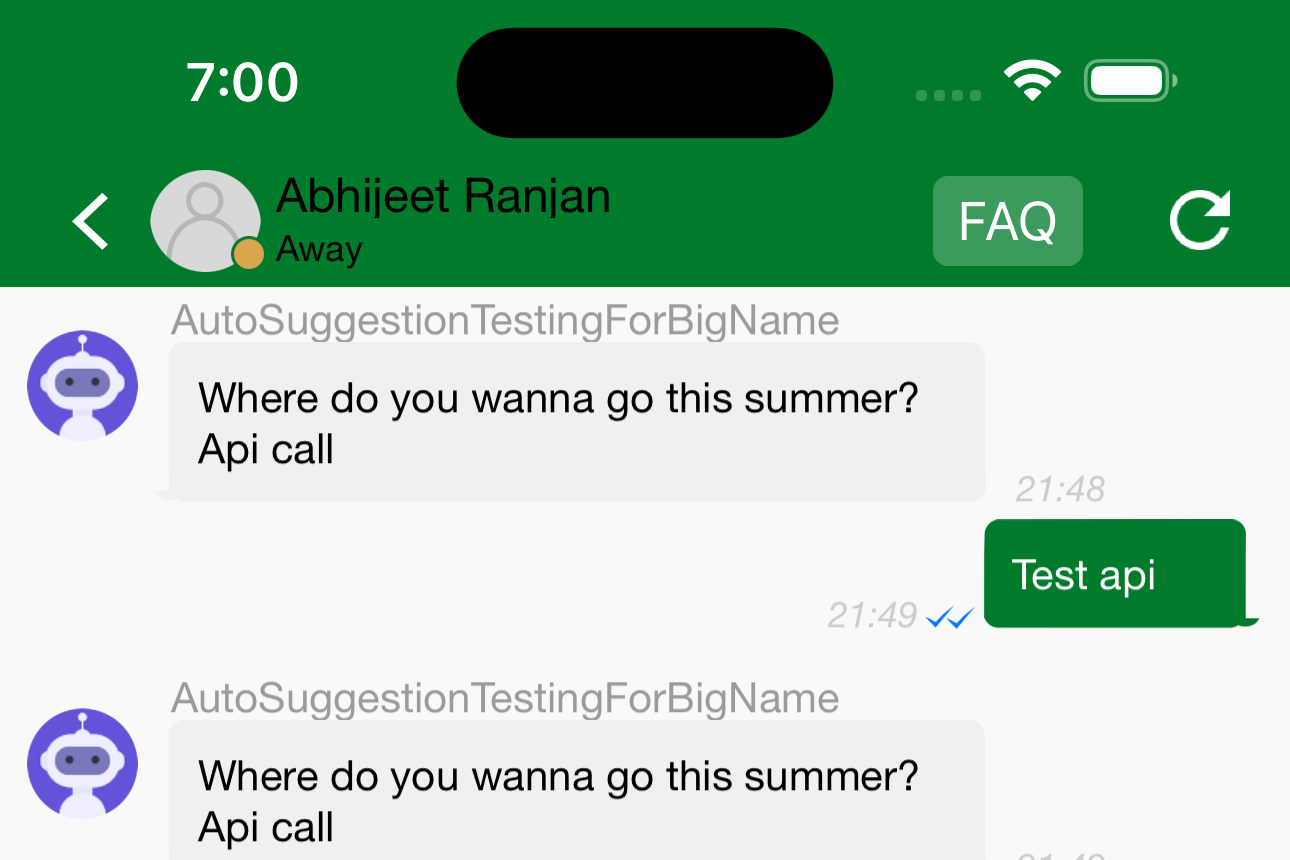
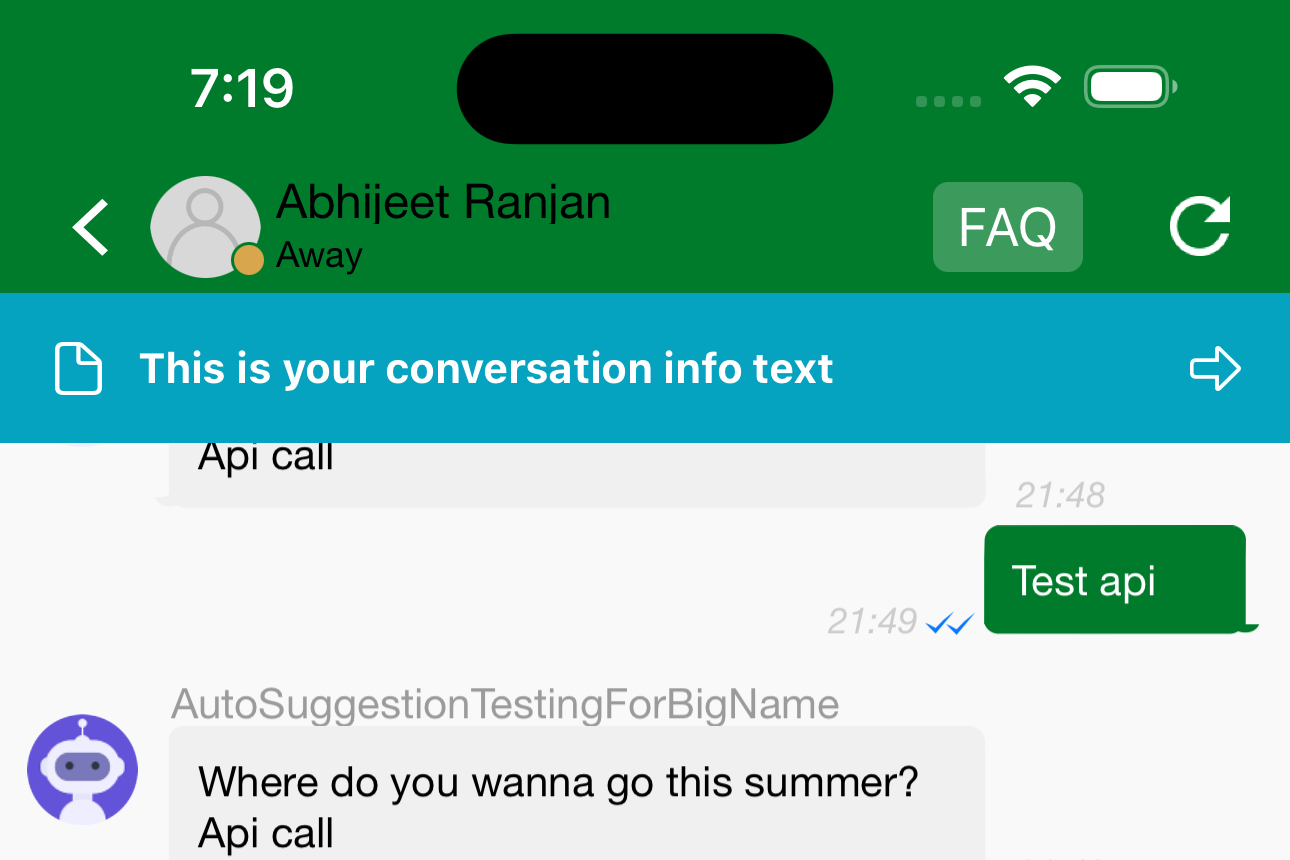
Adding conversation info
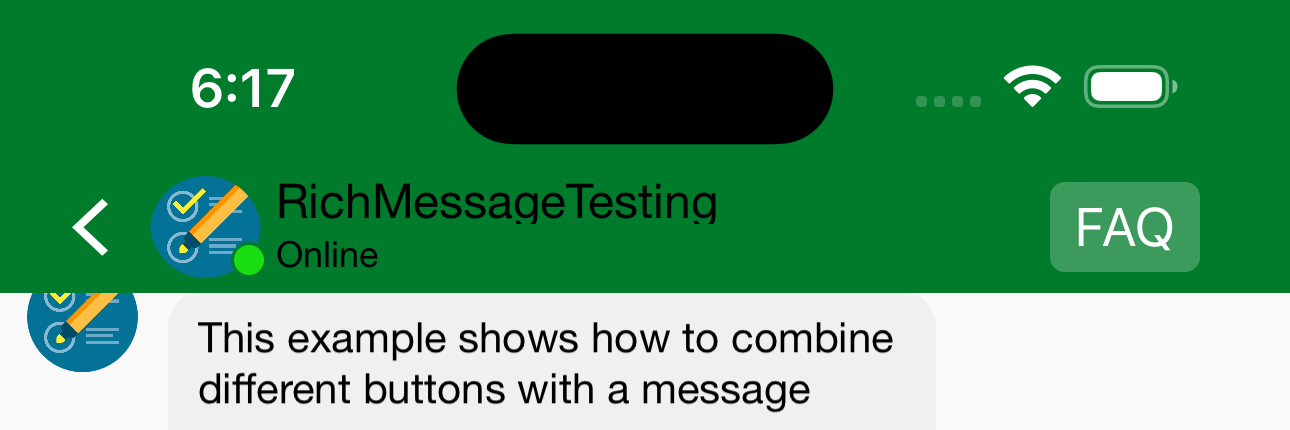
If you wish to display specific conversation information below the navigation bar, you can utilize the provided sample code for achieving this. You can receive an event callback when the user clicks on the info.
let bg = UIColor(5, green: 163, blue: 191) ?? UIColor.blue
let trailing = UIImage(named: "next") ?? UIImage()
let leading = UIImage(named: "file") ?? UIImage()
let font = UIFont.systemFont(ofSize: 14.0, weight: .bold)
let model = KMConversationInfoViewModel(infoContent: "This is your conversation info text", leadingImage: leading, trailingImage:trailing, backgroundColor: bg, contentColor: UIColor.white, contentFont:font)
Kommunicate.defaultConfiguration.conversationInfoModel = model
Before
After
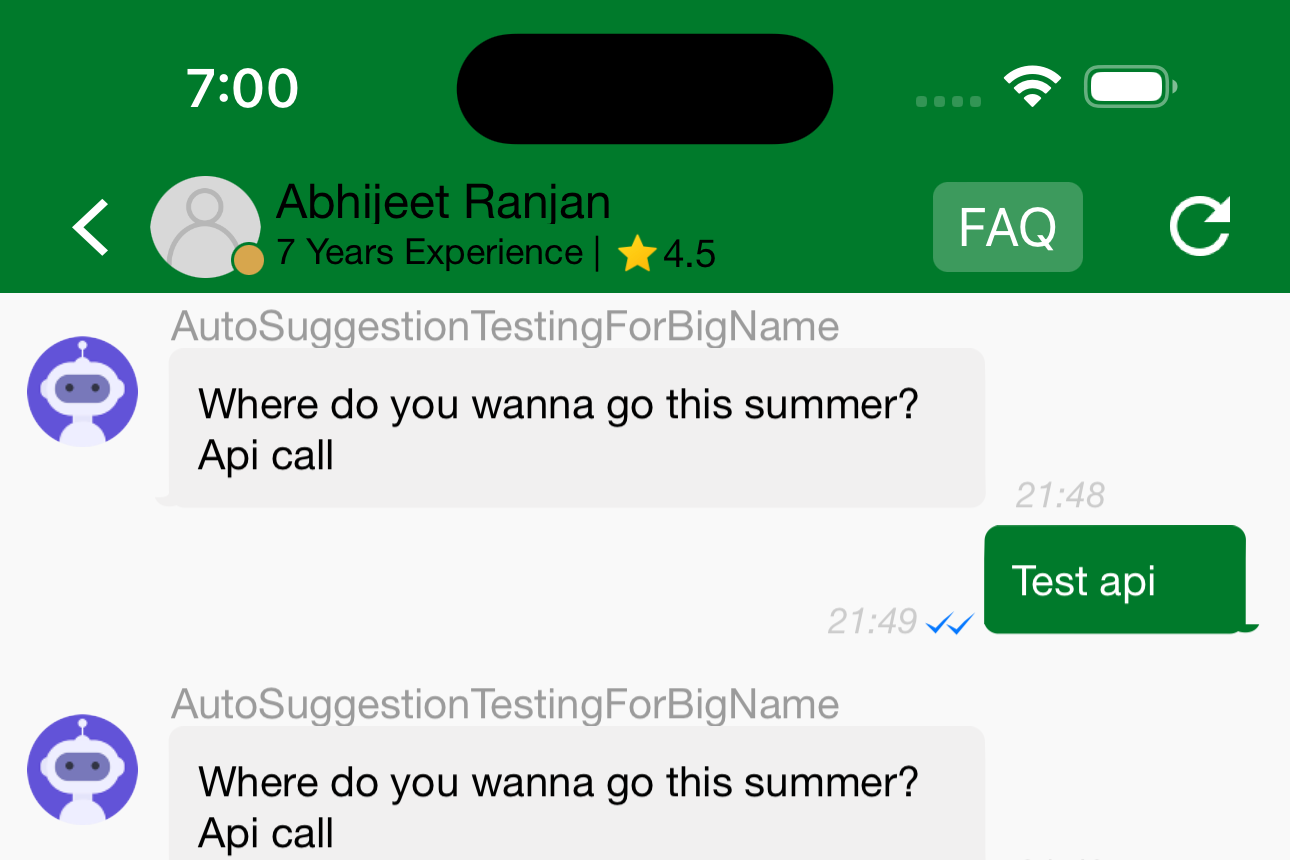
Adding toolbar subtitle and rating
You can add custom subtitle and rating on navigation bar using below code.
Kommunicate.kmConversationViewConfiguration.toolbarSubtitleText = "7 Years Experience"
Kommunicate.kmConversationViewConfiguration.toolbarSubtitleRating = 4.5
Before
After
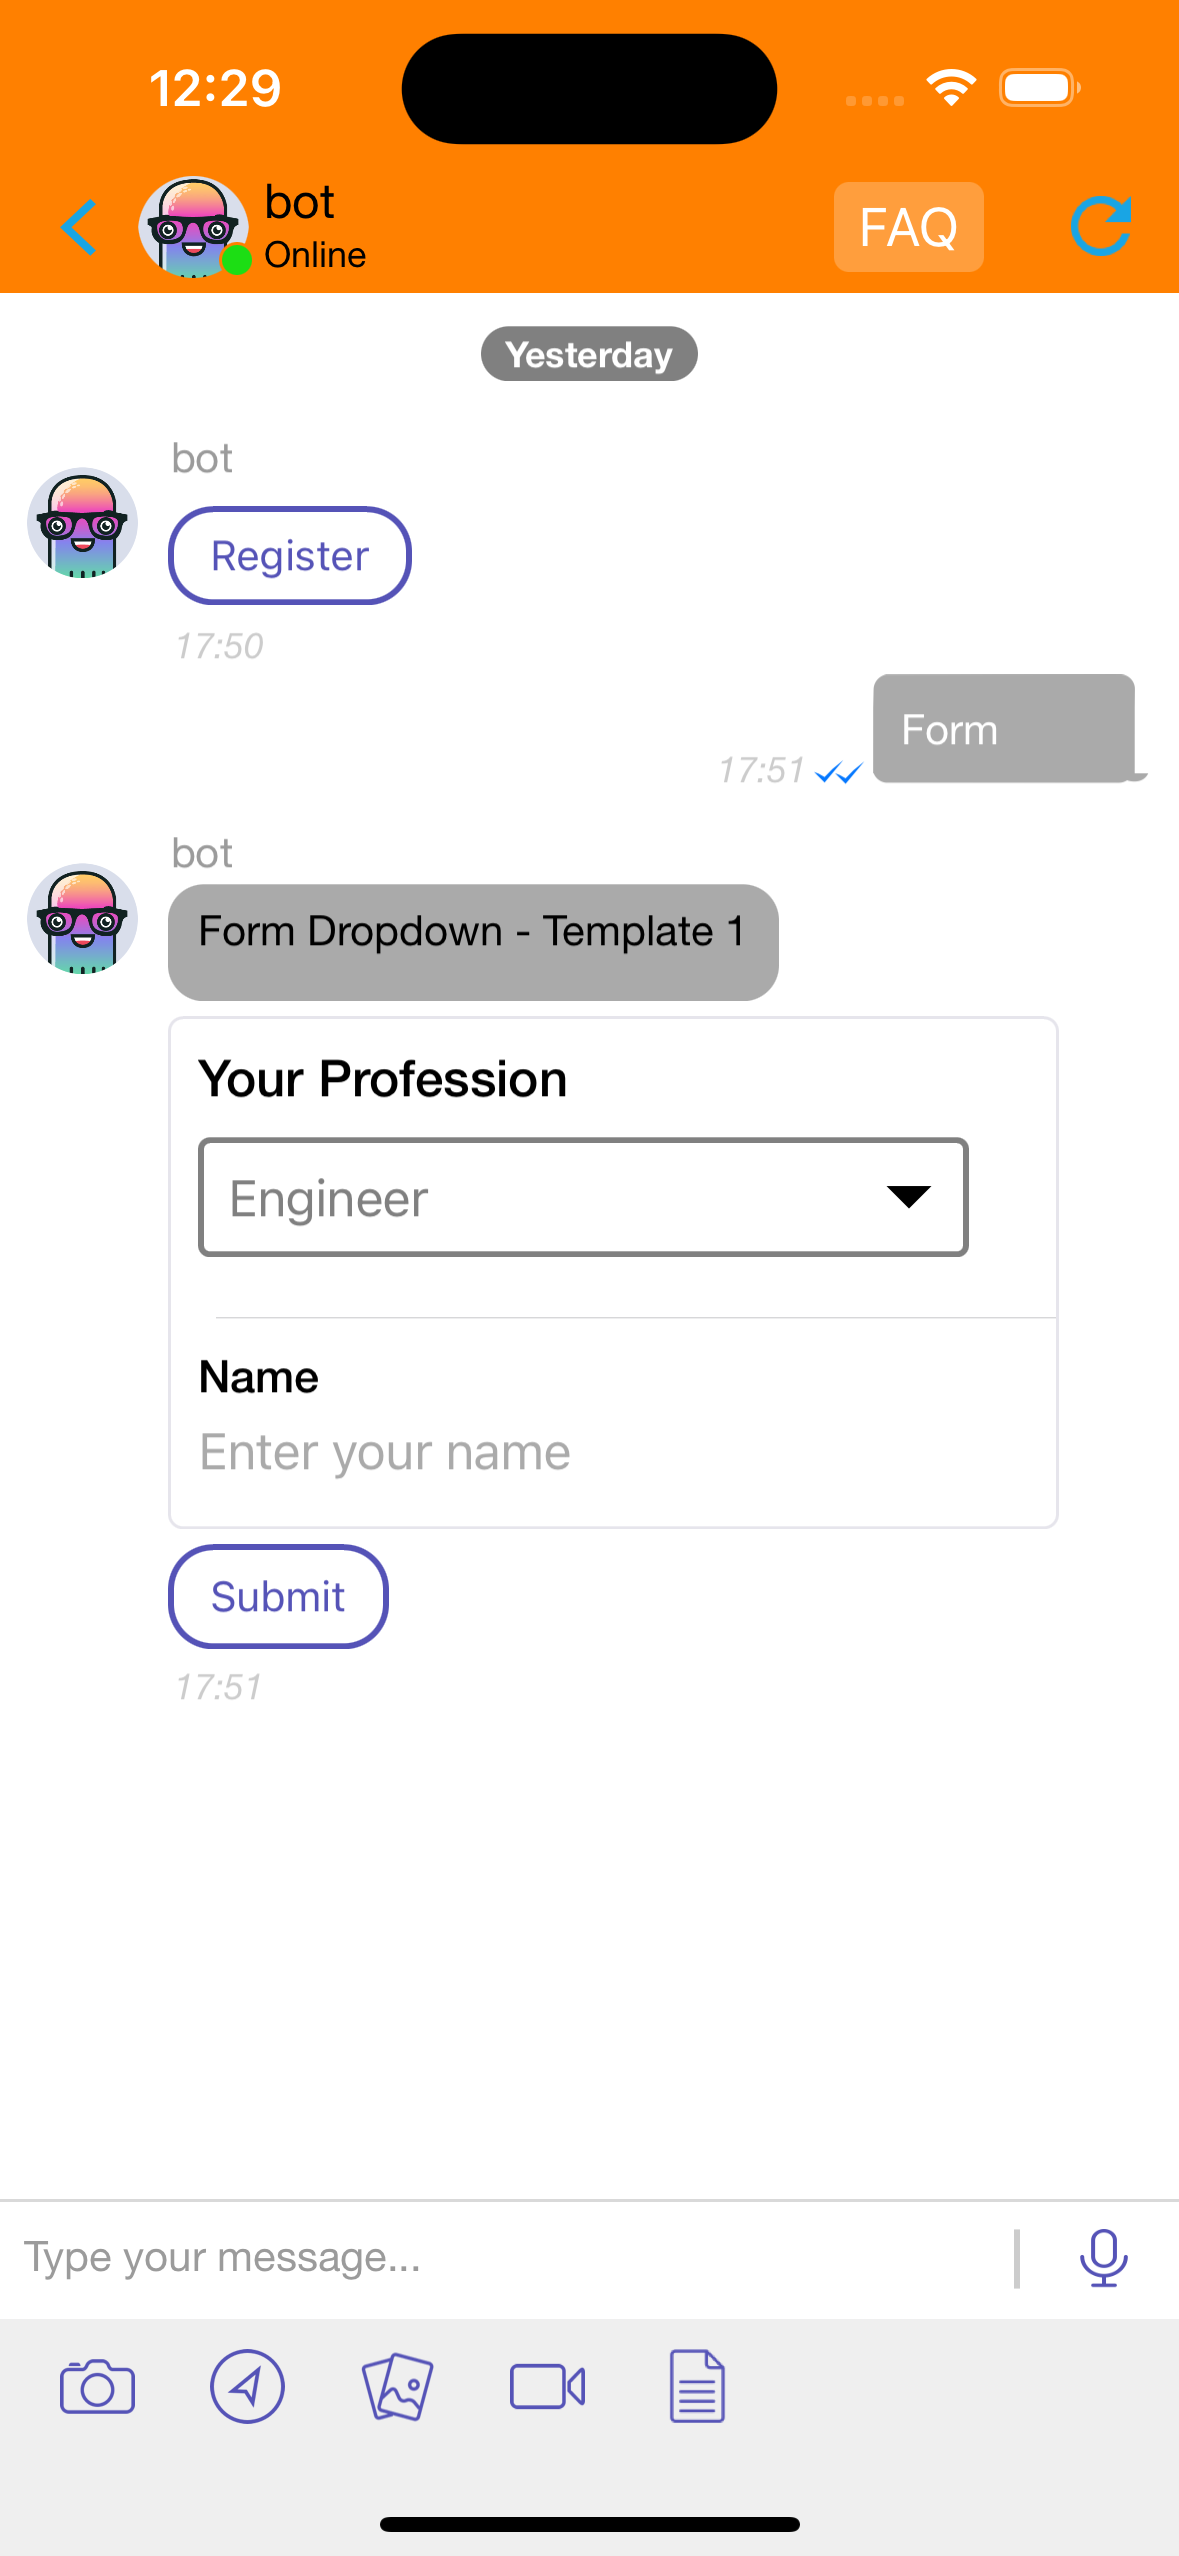
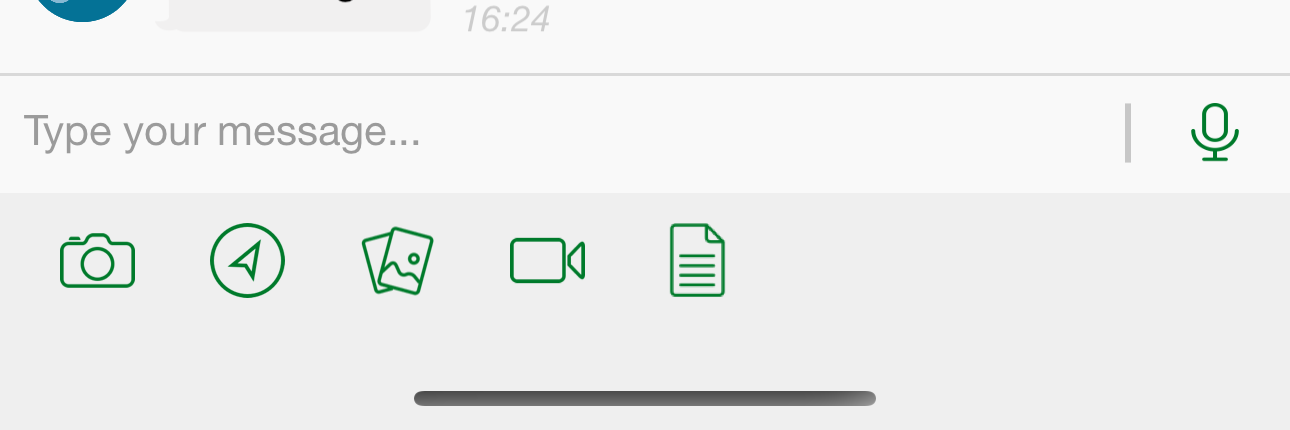
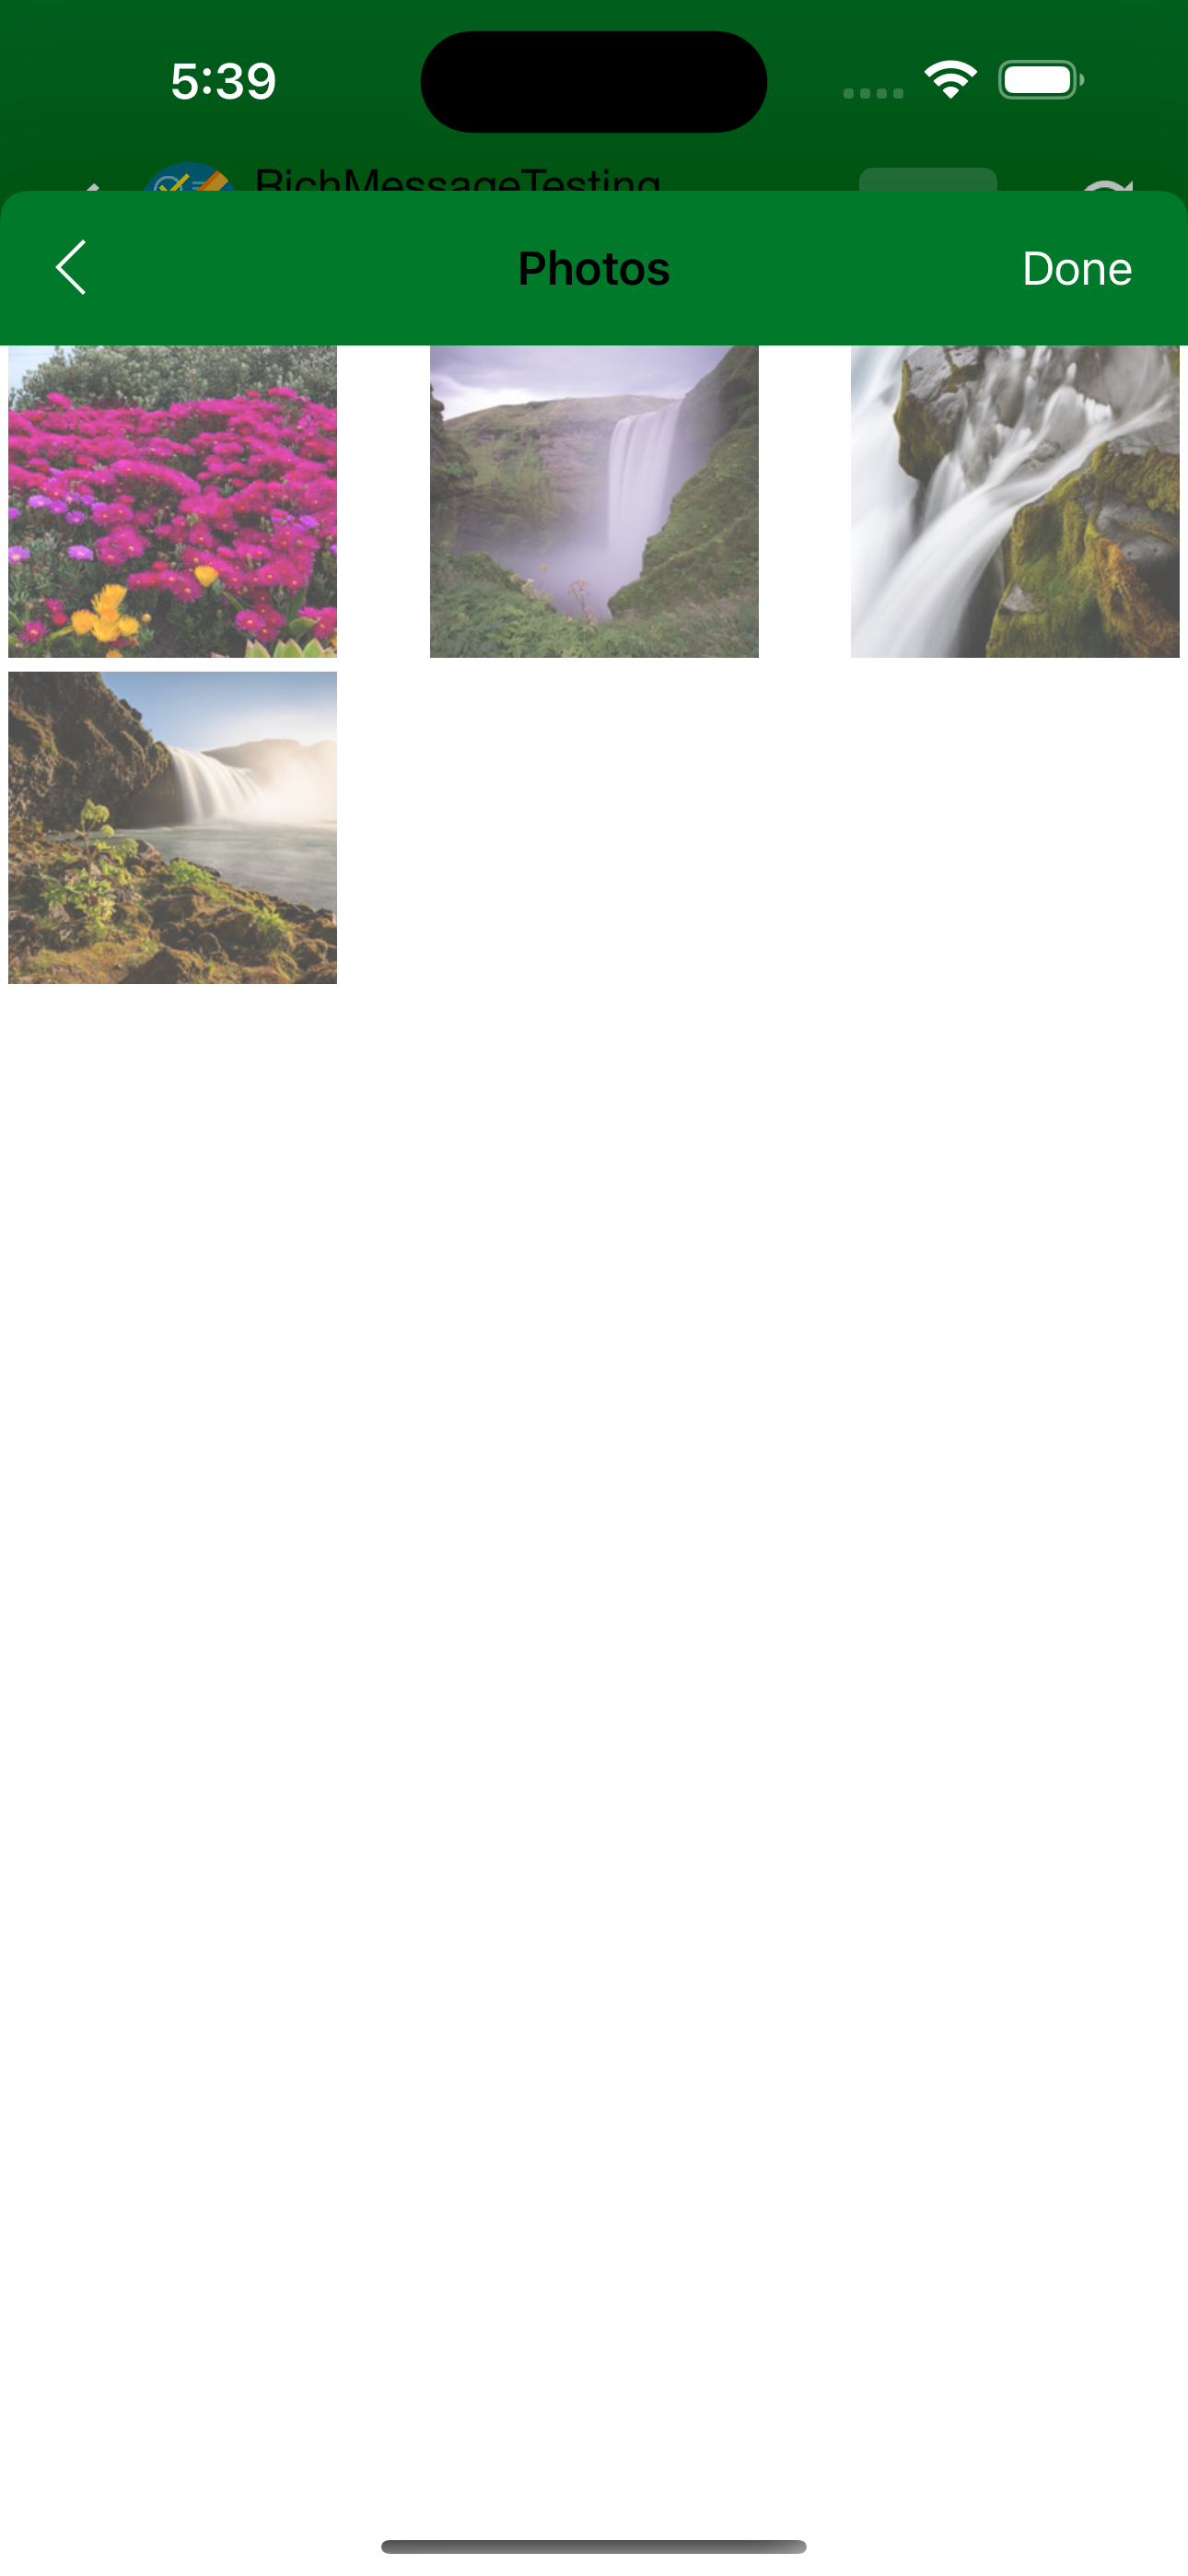
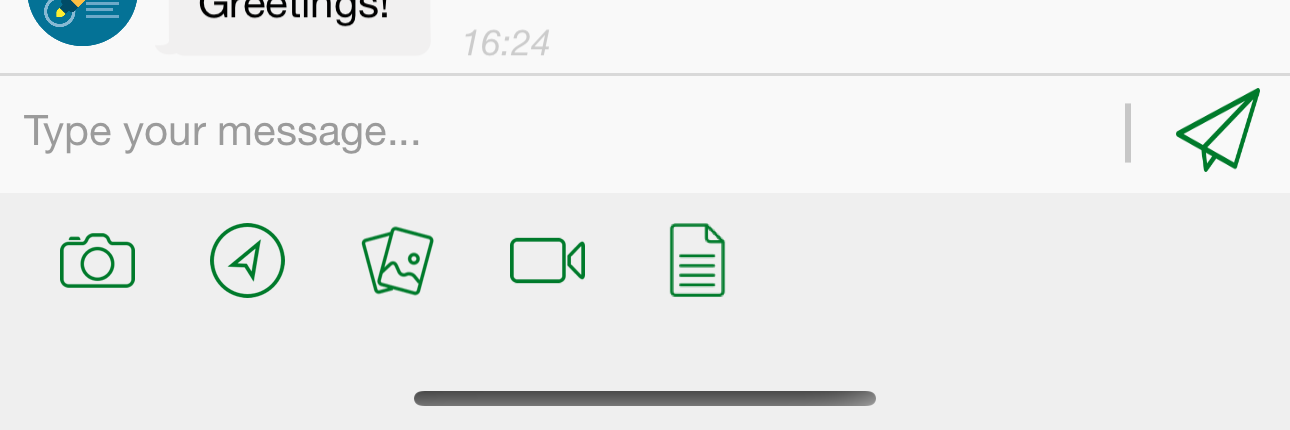
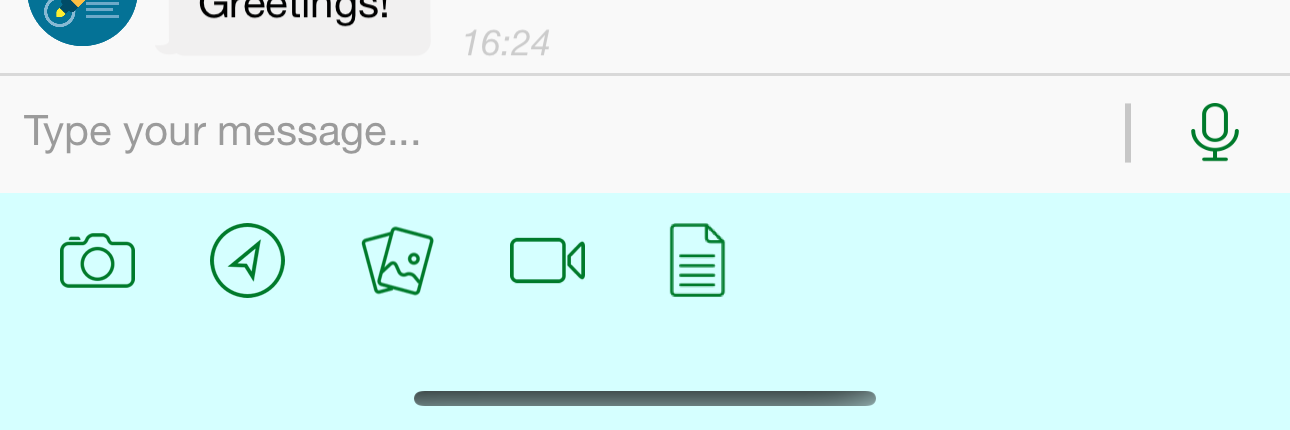
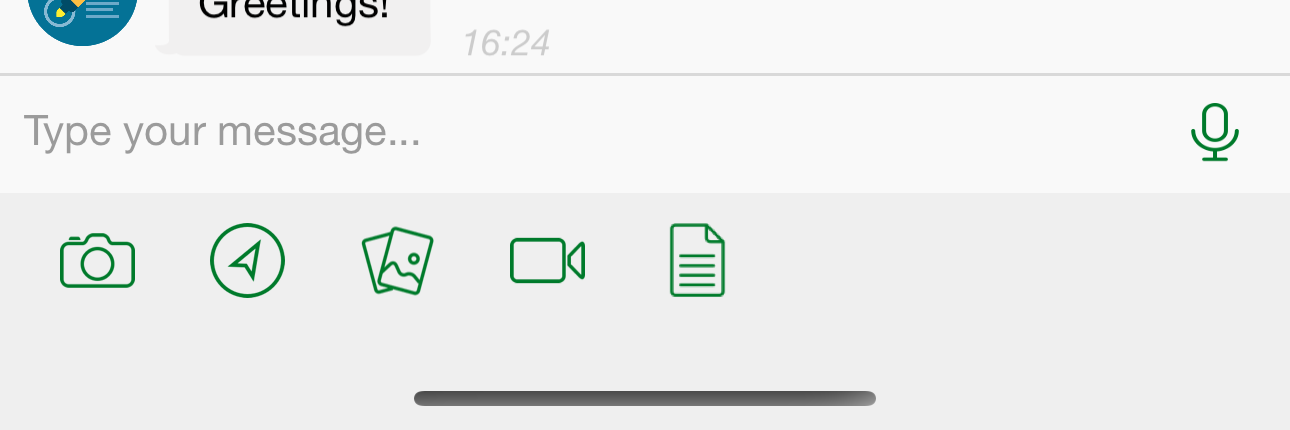
Attachment Options
To hide all the attachment options(gallery, camera, video, contact, document and location), use optionsToShow config as shown below. All will be shown by default except contact.
// To hide all the attachment options
Kommunicate.defaultConfiguration.chatBar.optionsToShow = .none
Before
After
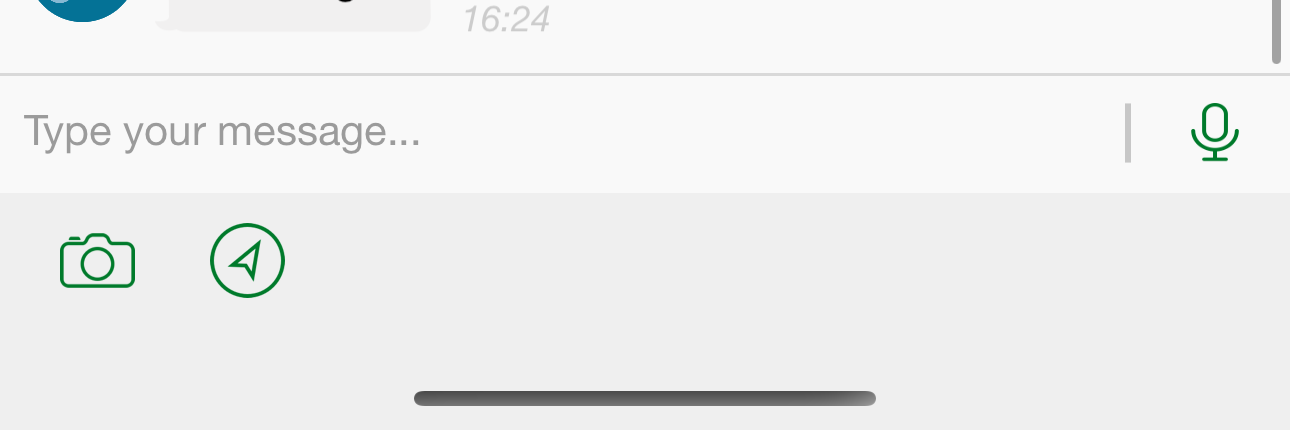
// If you want to show just two attachment options
Kommunicate.defaultConfiguration.chatBar.optionsToShow = .some([.camera, .location])
Before
After
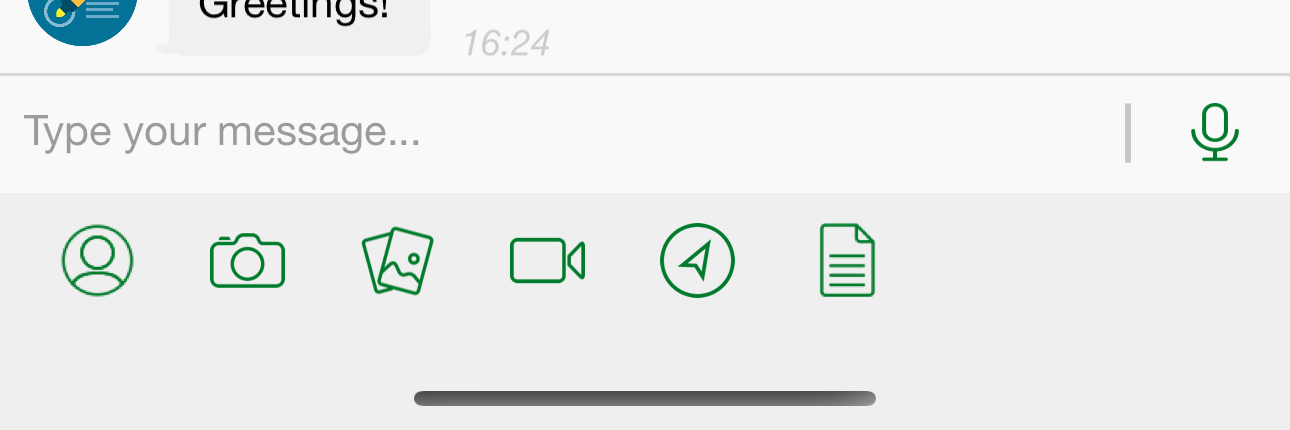
// If you want to show all attachment options then use this
Kommunicate.defaultConfiguration.chatBar.optionsToShow = .all
Before
After
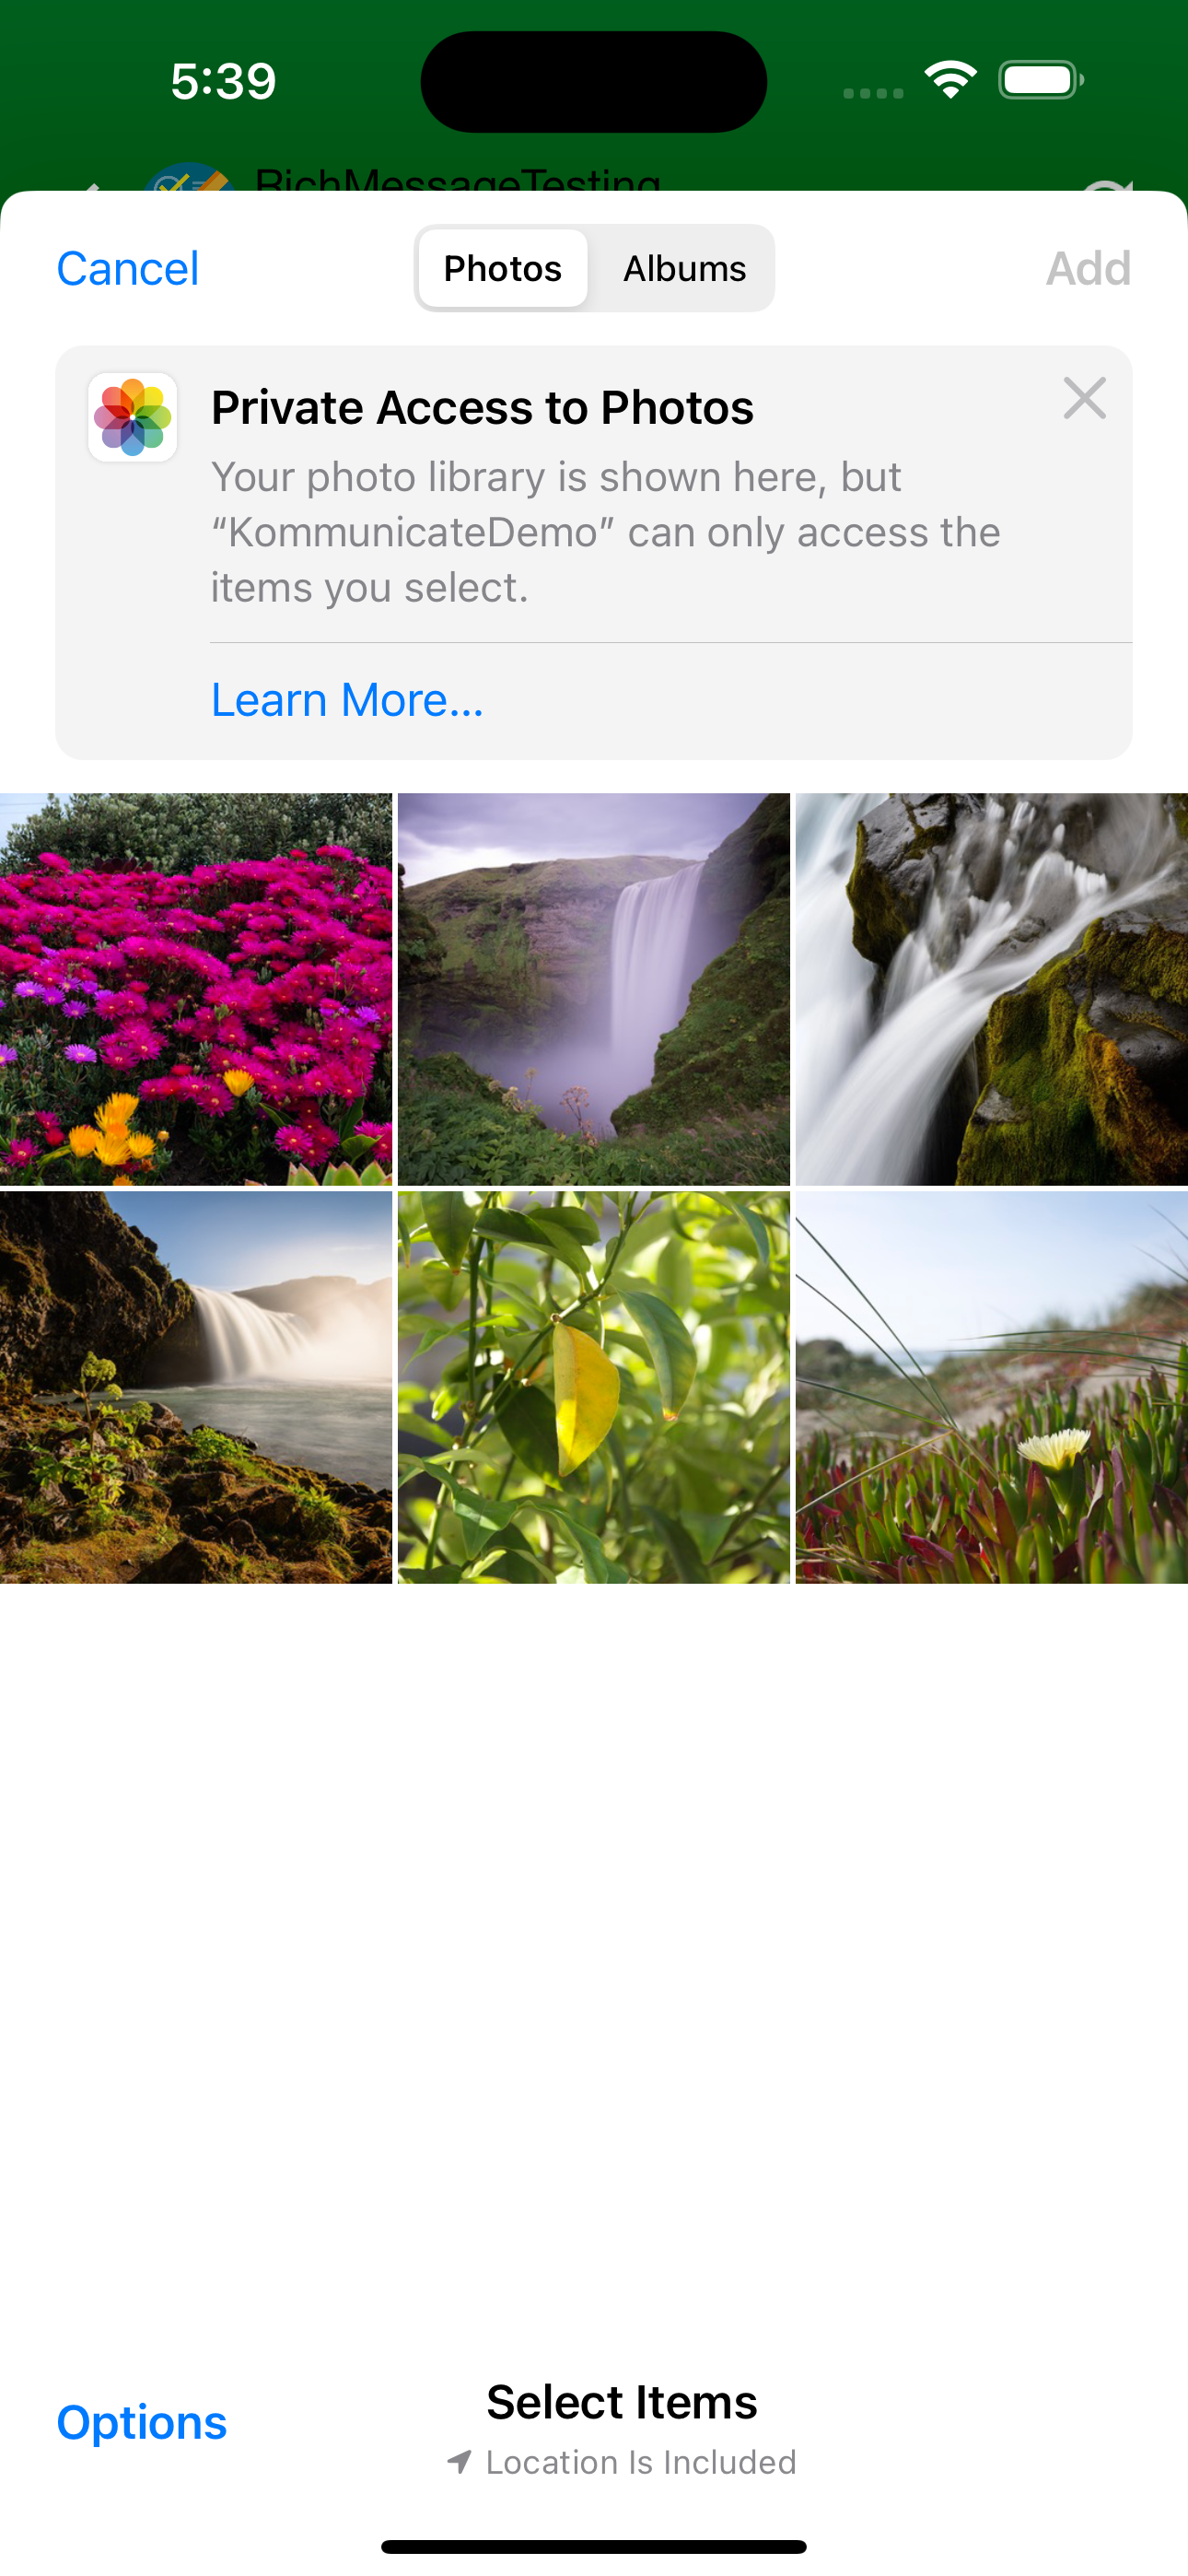
// For iOS 14+ devices, a new UI has been added to send the photos and videos, this will handle all privacy restrictions in iOS 14
// Add the below setting in the AppDelegate, just like other config options, by passing the value 'false' will disable the setting
Kommunicate.defaultConfiguration.isNewSystemPhotosUIEnabled = true
Before
After
We also have the option to record and send an audio message. To hide this option use hideAudioOptionInChatBar config.
Kommunicate.defaultConfiguration.hideAudioOptionInChatBar = true
Before
After
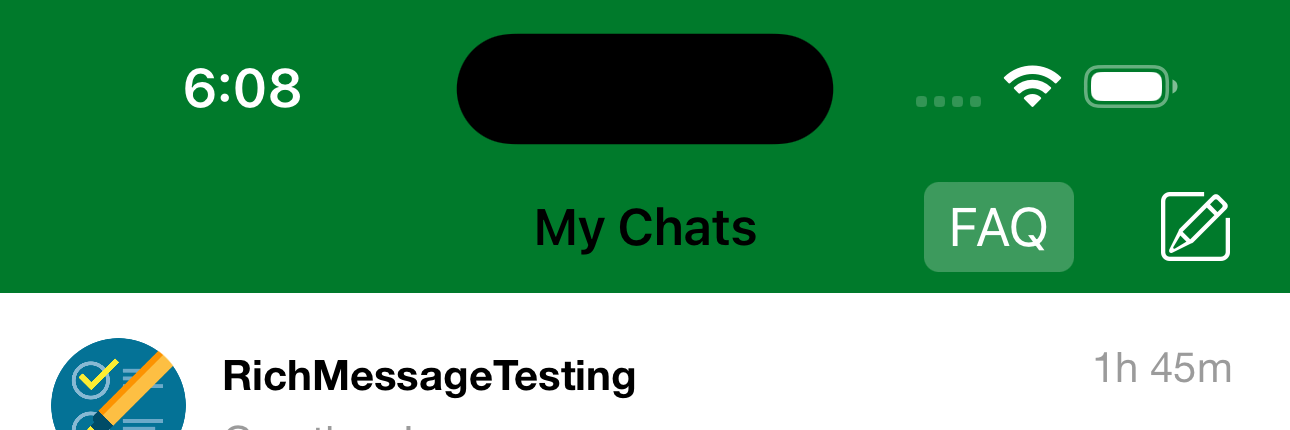
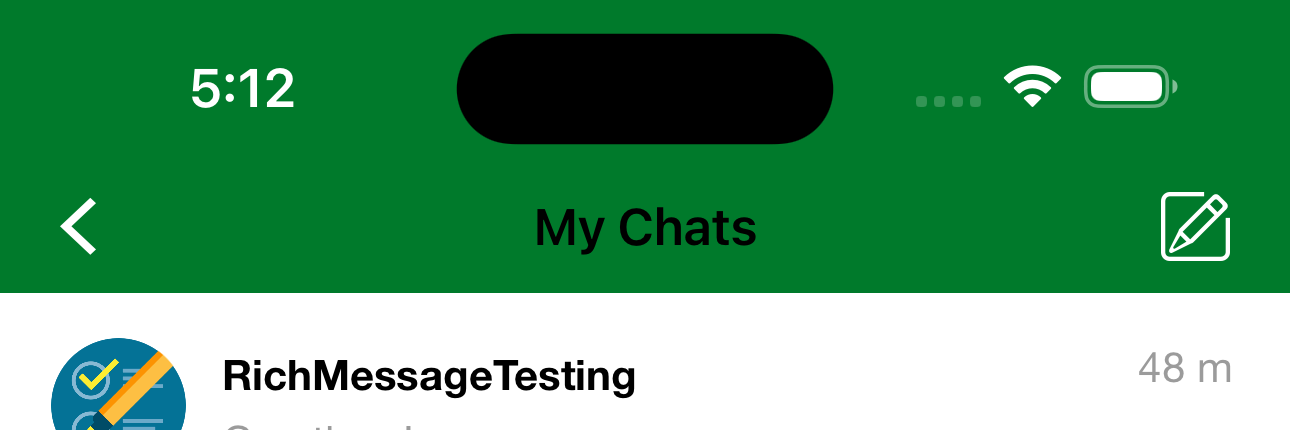
Back Button on Conversation List Screen
You can show/hide the back button on conversation list screen. By default, it will be visible.
Kommunicate.defaultConfiguration.hideBackButtonInConversationList = true
Before
After
Chat Bar Attachment Background Color
You can customize the background color of the Bottom Chat Bar, which contains attachment options.
Kommunicate.defaultConfiguration.chatBarAttachmentViewBackgroundColor = UIColor.init(red: 213,green: 255,blue: 255)
Before
After
Divider Line between Send Button & Chat Text View
You can show/hide the divider line which separates the textview & send button on chat bar.
Kommunicate.defaultConfiguration.hideLineImageFromChatBar = true
Before
After
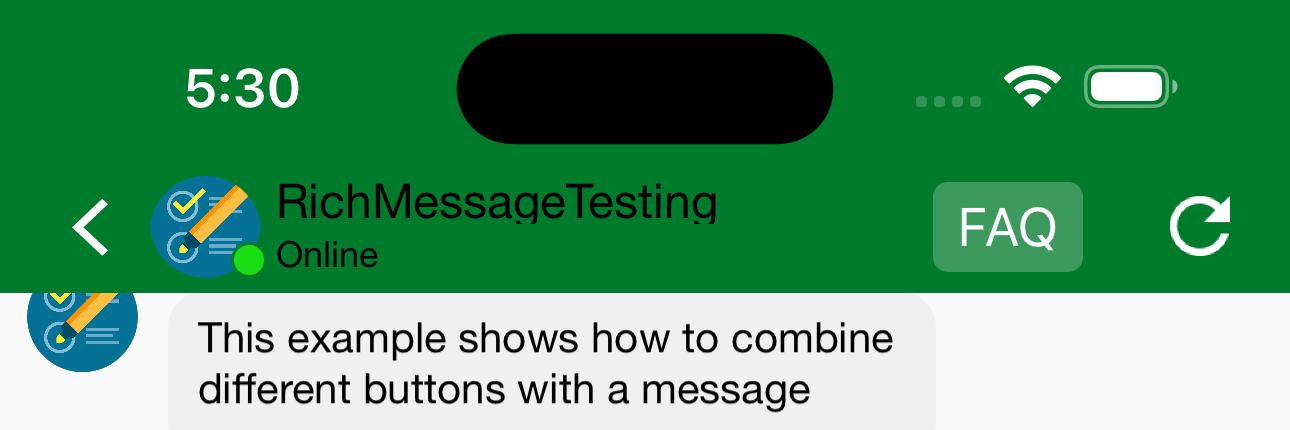
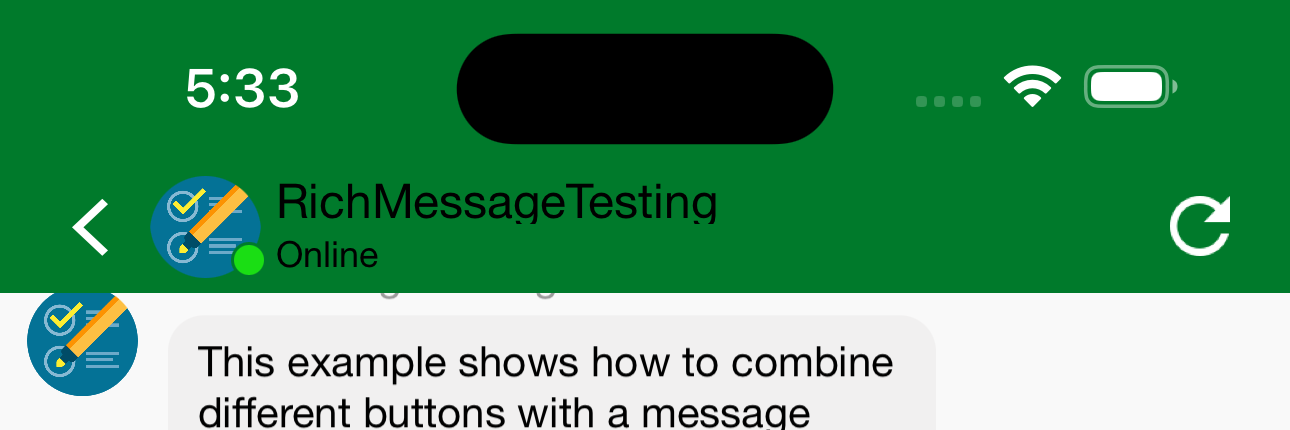
FAQ Button
To hide the FAQ button in Conversation List or Conversation screen, use below setting
Kommunicate.defaultConfiguration.hideFaqButtonInConversationList = true // Hide from Conversation List screen
Before
After
Kommunicate.defaultConfiguration.hideFaqButtonInConversationView = true // Hide from Conversation screen
Before
After
FAQ button customization
Note: Add faq Customisation before adding any
Kommunicate.defaultConfiguration
You can utilize the code provided below to customize the color of the FAQ button.
Kommunicate.kmConversationViewConfiguration.faqTextColor = .red
Kommunicate.kmConversationViewConfiguration.faqBackgroundColor = .white
Before
After

Hide Sender Name
You can hide the sender name inside the conversation.First you need to import the module like this import KommunicateChatUI_iOS_SDK . Then add the below line . By default it is false.
KMCellConfiguration.hideSenderName = true
Before
After
Navigation Bar Bottom Line
You can show/hide the navigation bar's bottom line. By default, it will be hidden.
Kommunicate.defaultConfiguration.hideNavigationBarBottomLine = false
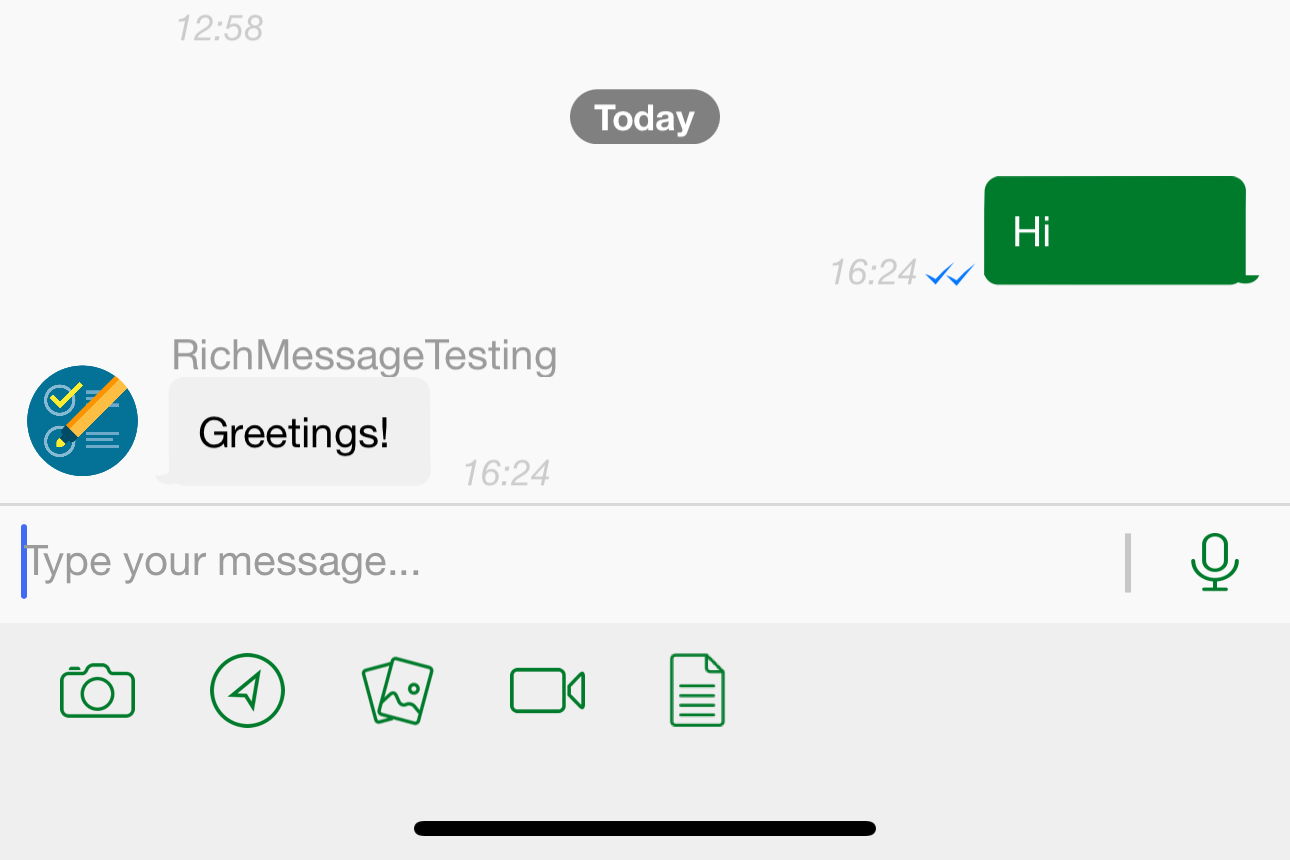
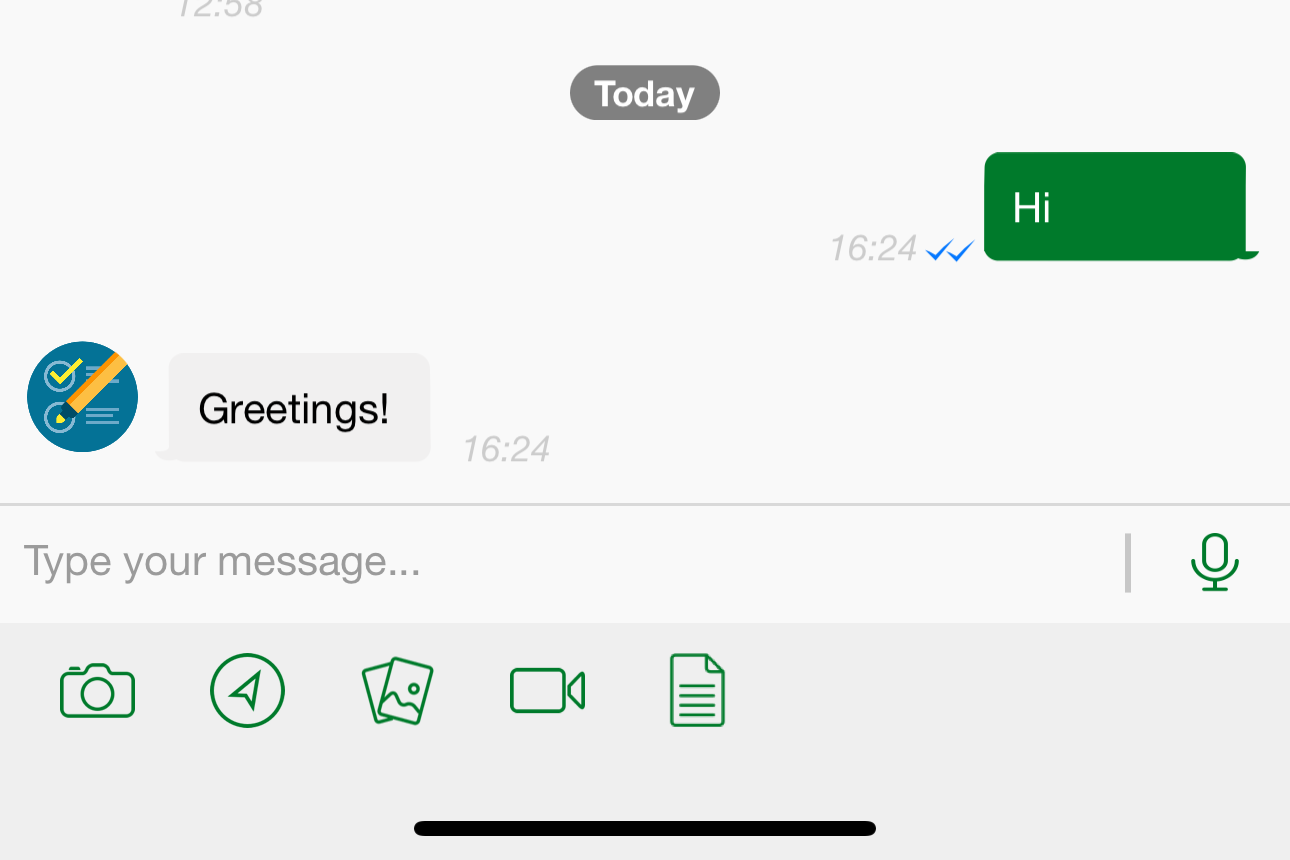
Refresh Button
You can enable/disable the default refresh button on the navigation bar of conversation Screen. By default, it will be visible.
Kommunicate.defaultConfiguration.isRefreshButtonEnabled = false
Before
After
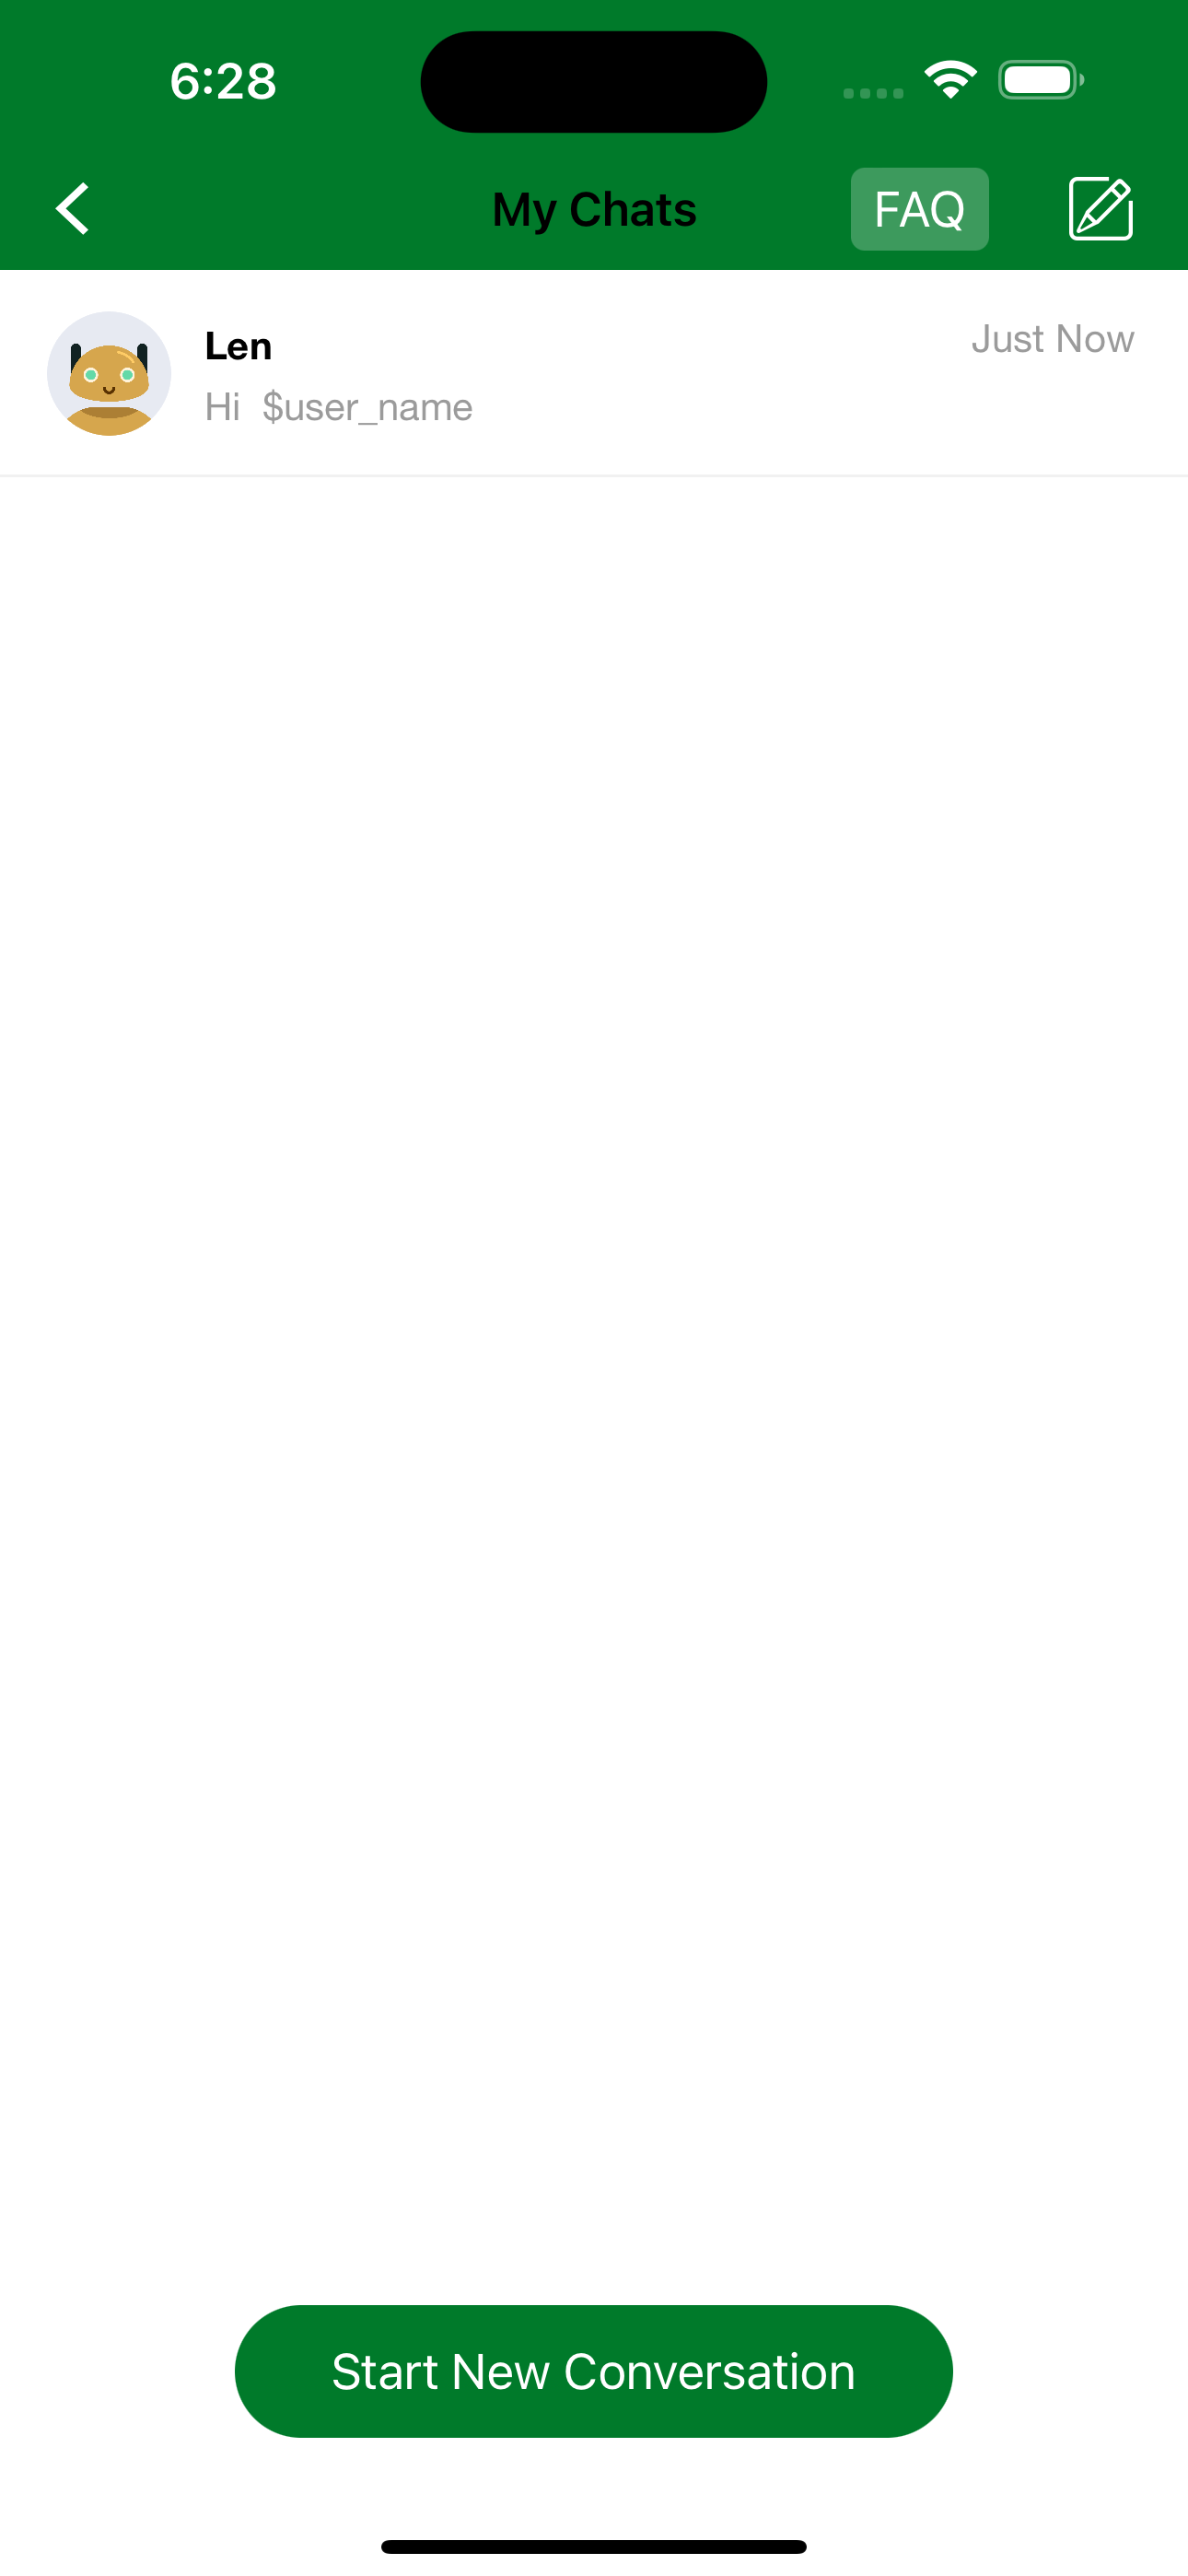
Start New Conversation
Use the below code to toggle the visibility of the Start New Conversation button on the conversation list screen. By default, it will be displayed.
Kommunicate.defaultConfiguration.hideBottomStartNewConversationButton = true
Before
After
Start New Conversation Button
You can show/hide the start new conversation button on the Navigation Bar at the conversation list Screen. By default, it will be Visible.
Kommunicate.defaultConfiguration.hideStartChatButton = true
Before
After

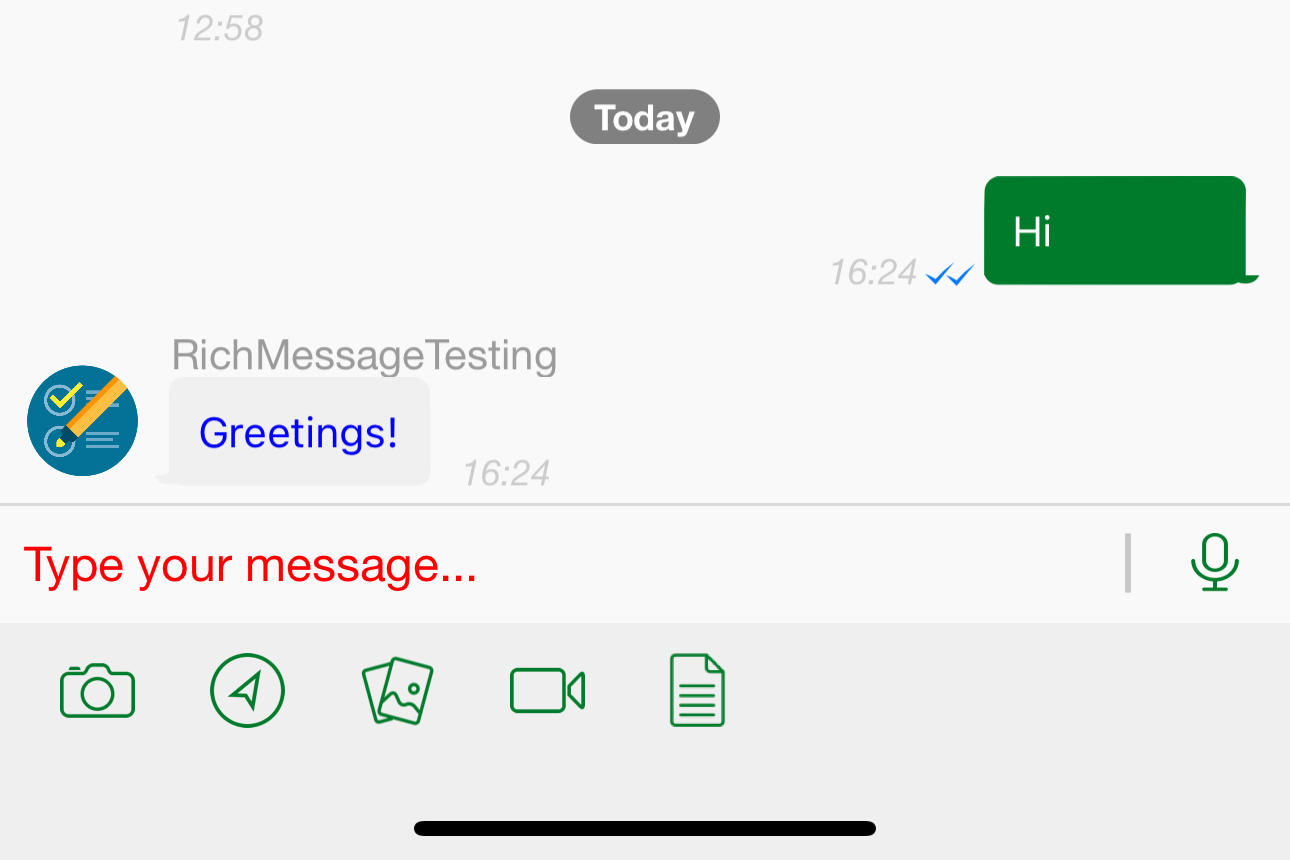
Text view style
Change the placeholder style
KMChatBarConfiguration.TextView.placeholder = KMStyle(font: .font(.normal(size: 16)), text: .red)
Change the text style
KMChatBarConfiguration.TextView.text = KMStyle(font: .font(.normal(size: 18)), text: .red)
Use this for changing message text font and color in the Conversation screen.
KMMessageStyle.receivedMessage = KMStyle(font: .systemFont(ofSize: 14), text: .blue) // Receiver side
KMMessageStyle.sentMessage = KMStyle(font: .systemFont(ofSize: 14), text: .white) // Sender side
Before
After
Theme Customization
In this section we have explained about the configuration options present in the SDK to modify color, font etc.
You can override any of the properties from the default configuration. Doing it in your AppDelegate is preferred.
Conversation Screen Color
Background color of the Conversation screen
Kommunicate.defaultConfiguration.backgroundColor = UIColor.white
Received Message Color
The background color of the received message bubble.
KMMessageStyle.receivedBubble.color = UIColor.lightGray
Sent Message Color
The background color of the sent message bubble.
KMMessageStyle.sentBubble.color = UIColor.lightGray
Sent Button Icon
Use the below code to change the send button icon.
Kommunicate.defaultConfiguration.sendMessageIcon = UIImage(named: "send", in: Bundle.main, compatibleWith: nil)
Note: Image should in the image resources section.
Navigation Bar's Color Customizations
Use the below UINavigationBar.appearance code to change the navigation bar colors while launching the conversation.
let kmNavigationBarProxy = UINavigationBar.appearance(whenContainedInInstancesOf: [KMBaseNavigationViewController.self])
kmNavigationBarProxy.isTranslucent = false

// Navigation Bar's Background Color
kmNavigationBarProxy.barTintColor = UIColor.orange

// Navigation Bar's Tint color
kmNavigationBarProxy.tintColor = UIColor.navigationTextOceanBlue()

// Navigation Bar's Title color
kmNavigationBarProxy.titleTextAttributes = [NSAttributedString.Key.foregroundColor: UIColor.black]