
CMS Installation
Install on Website builders or Content Management Systems (CMS)
- WordPress
- Squarespace
- Wix
- Shopify
- PrestaShop
- Magento
- BigCommerce
- Weebly
- GoDaddy
- Joomla
- Moodle
- Blogger
- Webflow
WordPress
Step 1: Log in to your website's WordPress dashboard

Step 2: Navigate to Plugins
From the left navigation panel, click on Plugins. Thereafter, click on Add New and search for 'Kommunicate'. Click on the Install Now button for the Kommunicate plugin.

Step 3: Activate the Plugin
Now click on 'Activate' the plugin to make use of it.

Step 4: Open Kommunicate Settings
From the left navigation menu, click on Kommunicate Settings and click on Update app ID button. You will need your Kommunicate APP_ID for this part. To get your APP_ID, go to your Kommunicate Dashboard. Settings > Install. Your APP_ID will appear on the screen, which you need to update here.

Step 5: Saving app ID
Once the app ID is added, click on Save Changes. That's it.

Live chat is now active on your website. Open the website and check out the chat plugin. You will find it in the bottom-right corner.

Video tutorial: Add Live Chat to Wordpress
Squarespace
Step 1: Log in to your account and select your website
Visit Squarespace and log in to your account. Under Website tab, click the website in which you want to add the live chat plugin.

Step 2: Open settings
Choose Settings from the left navigation panel.

Step 3: Open advanced settings
Next, navigate to the Website section and Click on Advanced to open advanced settings.

Step 4: Open the code injection console
From the advanced settings menu, open Code Injection console.

Step 5: Insert your plugin script
Paste the copied JavaScript code the footer section.
To get Install script - go to the Install section and copy the script.

Click Save and you are good to go!
Wix
Step 1: Log in to your Wix account
Log in to your account and click on the My Sites.

Step 2: Select the site you want to integrate live chat in
Select your site and click on the Edit Site button.

Step 3: Open HTML iframe
After clicking on the edit site. Go to the left side panel and click on Add icon then move to the cursor on More link => Open add more tab => select the HTML iframe.

Step 4: Paste your JavaScript code
Click on Enter code. HTML iframe Popup box will open. Here in this box paste our JavaScript Install script you got from Kommunicate dashboard.
To get Install script - go to the Install section and copy the script.

Adjust the width and height of chat widget -> Click Apply
(Recommended size: Width - 400 px & Height 600 px)
Now you are done with integrating live chat.
Step 5: Adjust chat widget position
In this step, you need to adjust the chat widget position and enable it to show in all pages.
Right-click on your chat widget -> Enable show on all pages -> Select pin Settings/pin to screen as shown in the screenshot below. Then you will get the option to adjust position and size.
Set position and size as per your convinience.

Its done! You are good to go!
Steps to install Live chat plugin in the Wix website (Paid plan)
If you are using a paid plan, follow the following steps to install Kommunicate live chat.
Note: In Wix paid plan, you can adjust chat widget size for both mobile and desktop versions.
Step 1: Log in
Log in to Wix dashboard
Choose your site -> Settings -> Tracking & Analytics

- Next, click on
New ToolandCustom

- In the box, paste the install script you got from Kommunicate dashboard and also give the Name for your chat widget implementation as LiveChat so that it'll display on all pages.
To get Install script - go to the Install section and copy the script.

- As a final step, select Body - end as the position for your LiveChat and click on Apply.

With these steps, you can integrate live-chat in your Wix websites.
Video tutorial: Integrate live chat plugin with Wix Website
Shopify
Step 1: Log in to your Shopify admin panel.
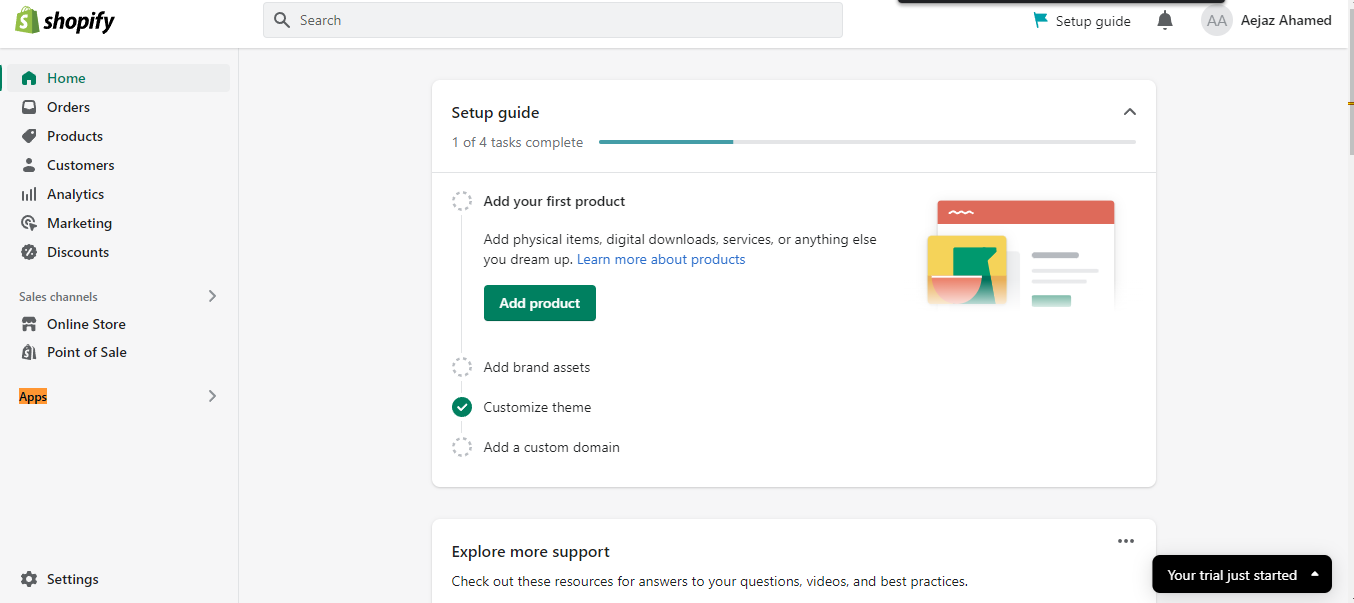
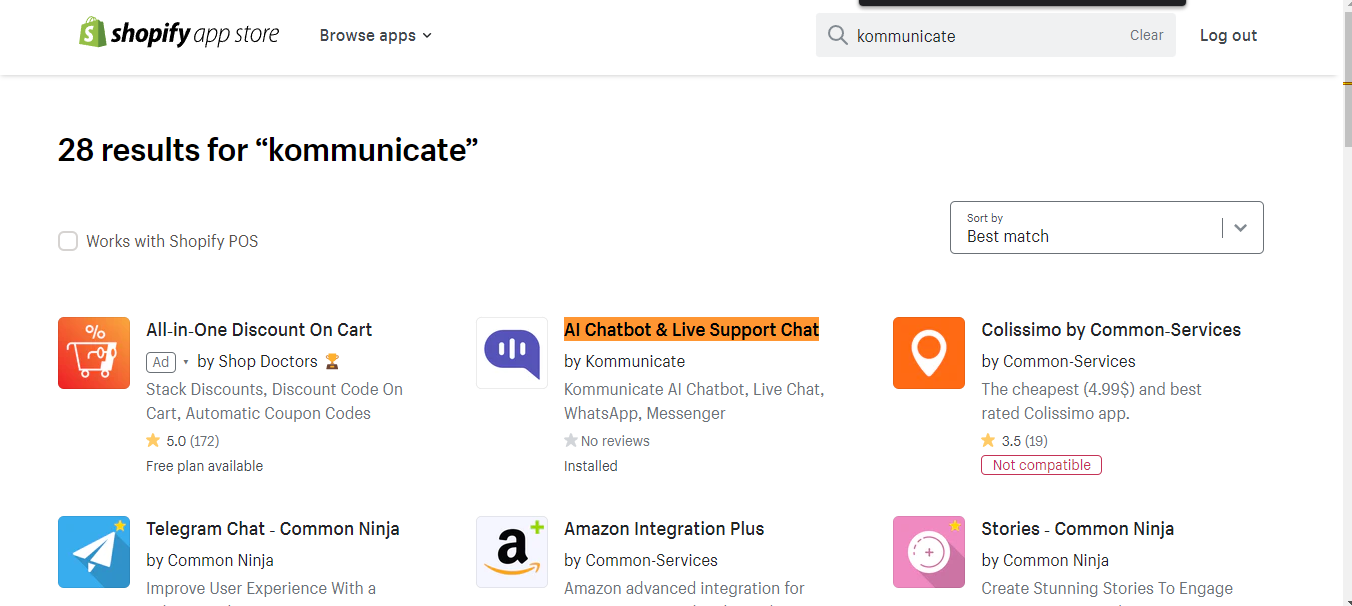
Navigate to Apps and search for Kommunicate and select the highlighted App by Kommunicate.
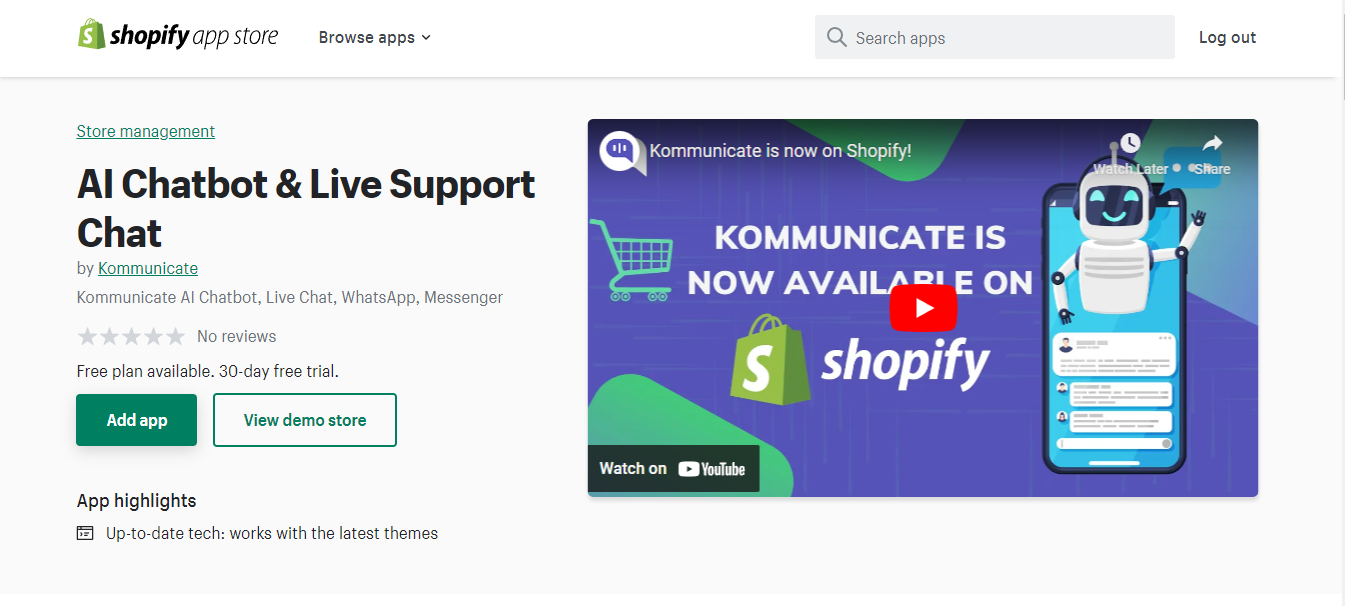
Step 2: Click on Add App
Step 3: Click on Install App
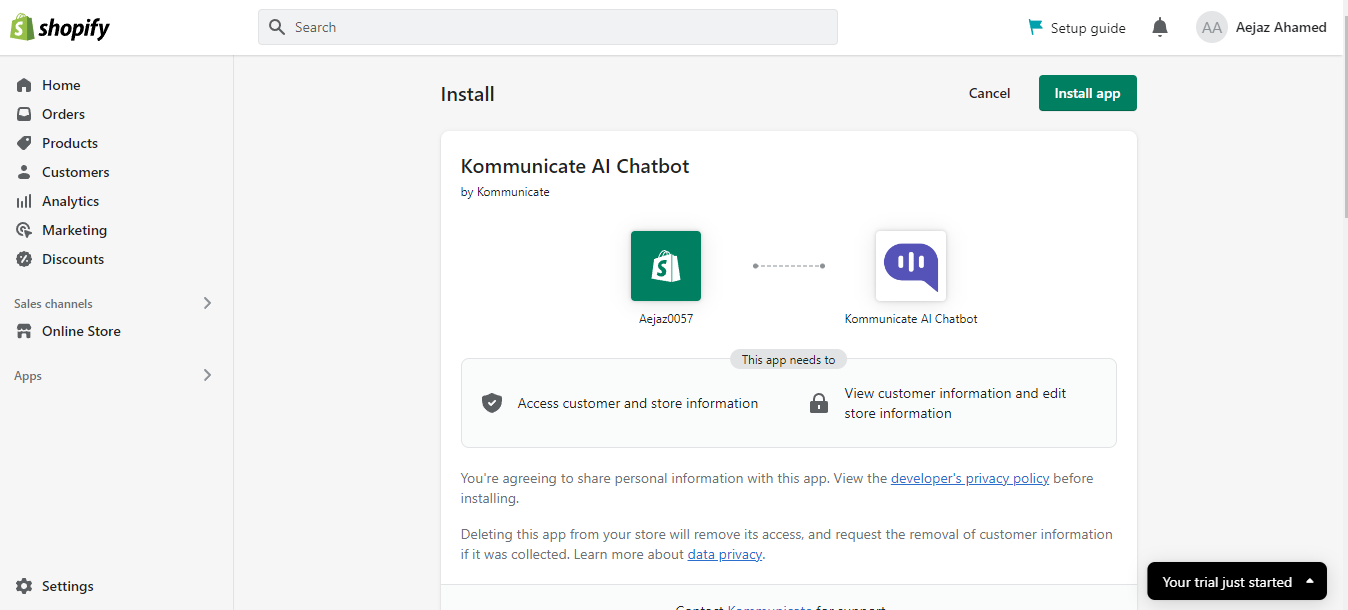
Once you click on Install App, this will take you to the Kommunicate dashboard for the confirmation.
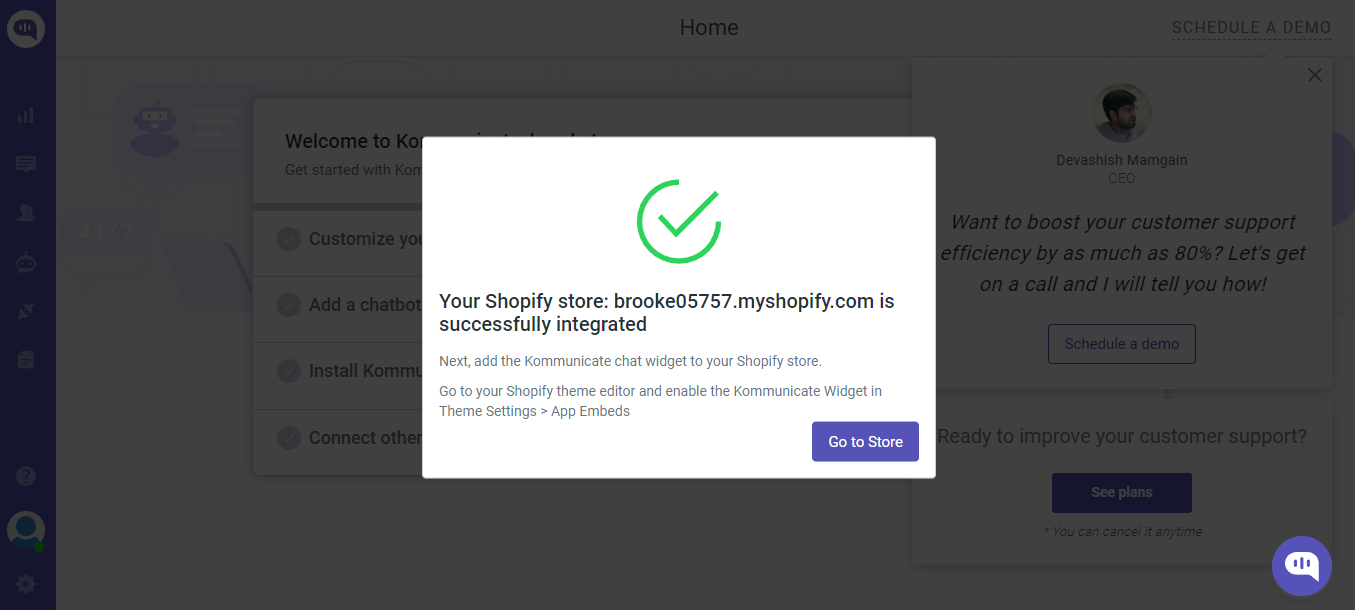
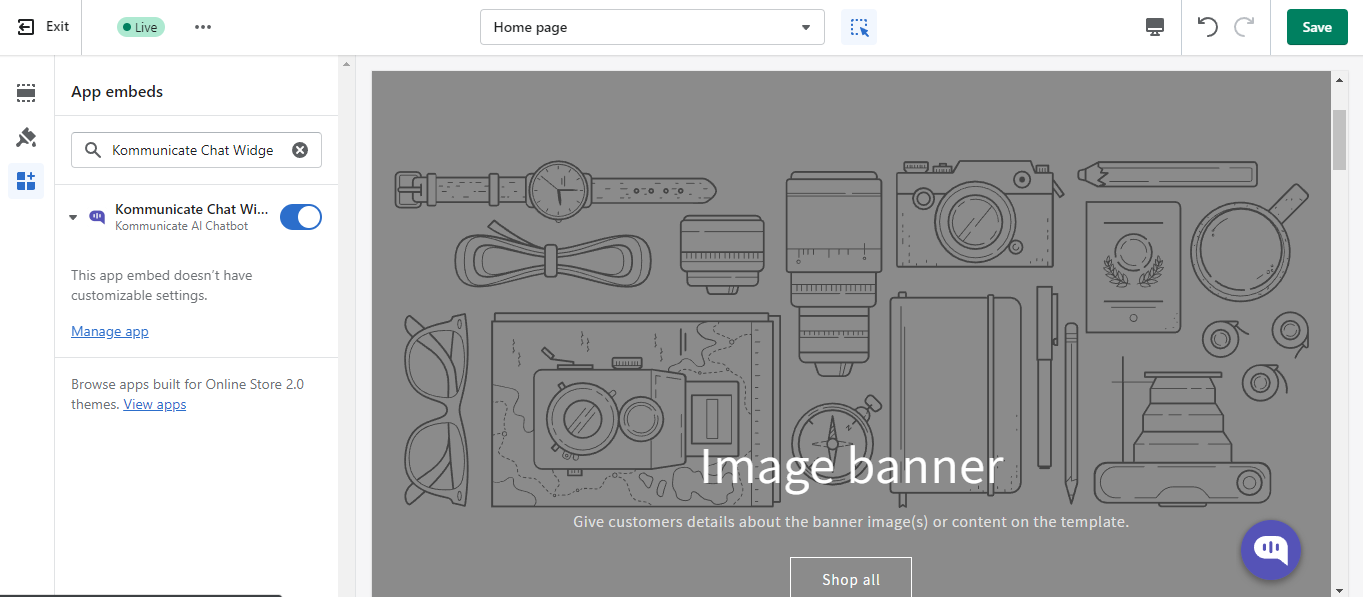
Step 4: Click on Go to Store
That's it, the chat widget has been successfully installed in your Shopify store on the bottom right corner.
PrestaShop
Step 1: Once you log in to your PrestaShop account, the first step is to navigate to the "Modules" section from the right navigation panel. Click on Module Catalogue, and, from this screen, click on Module Selections.
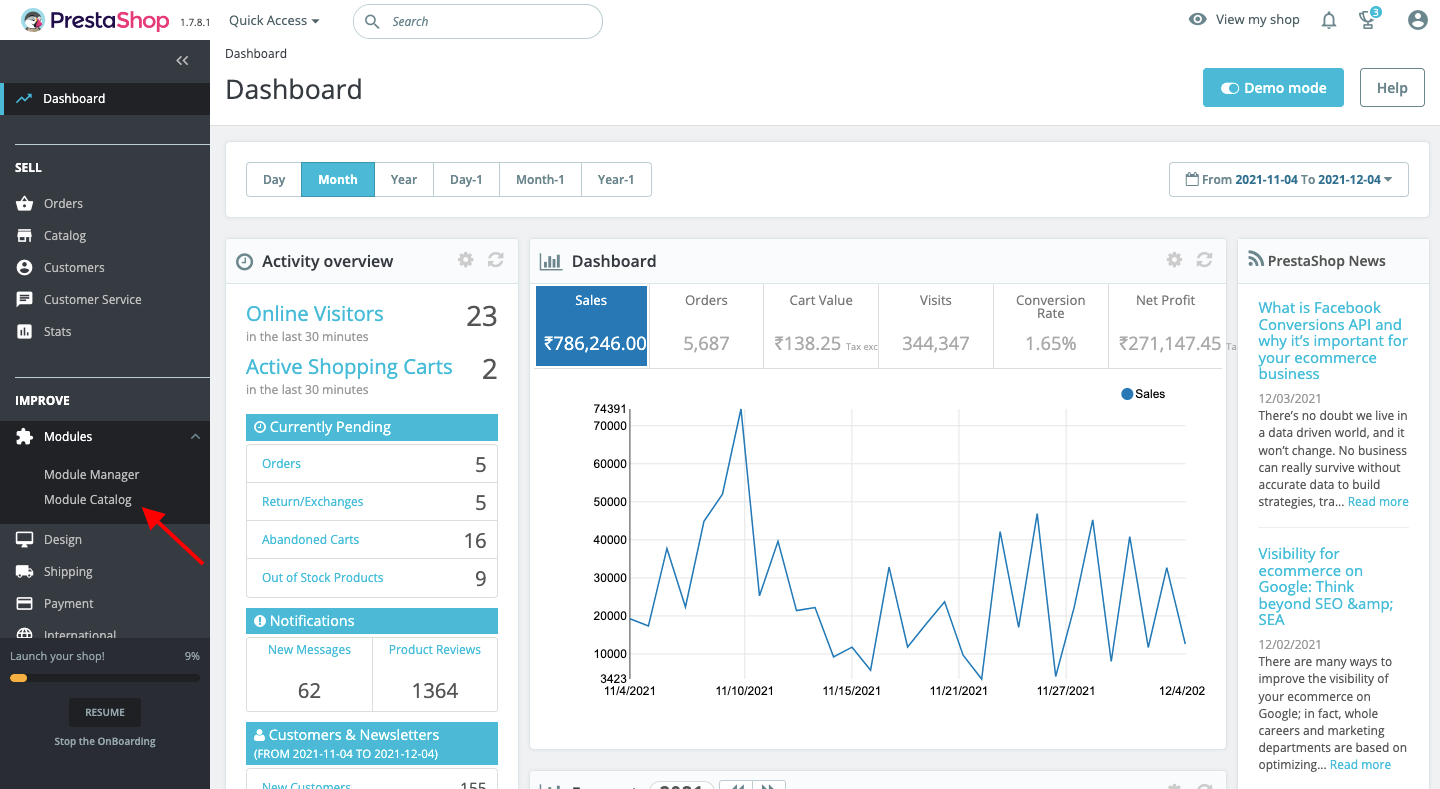
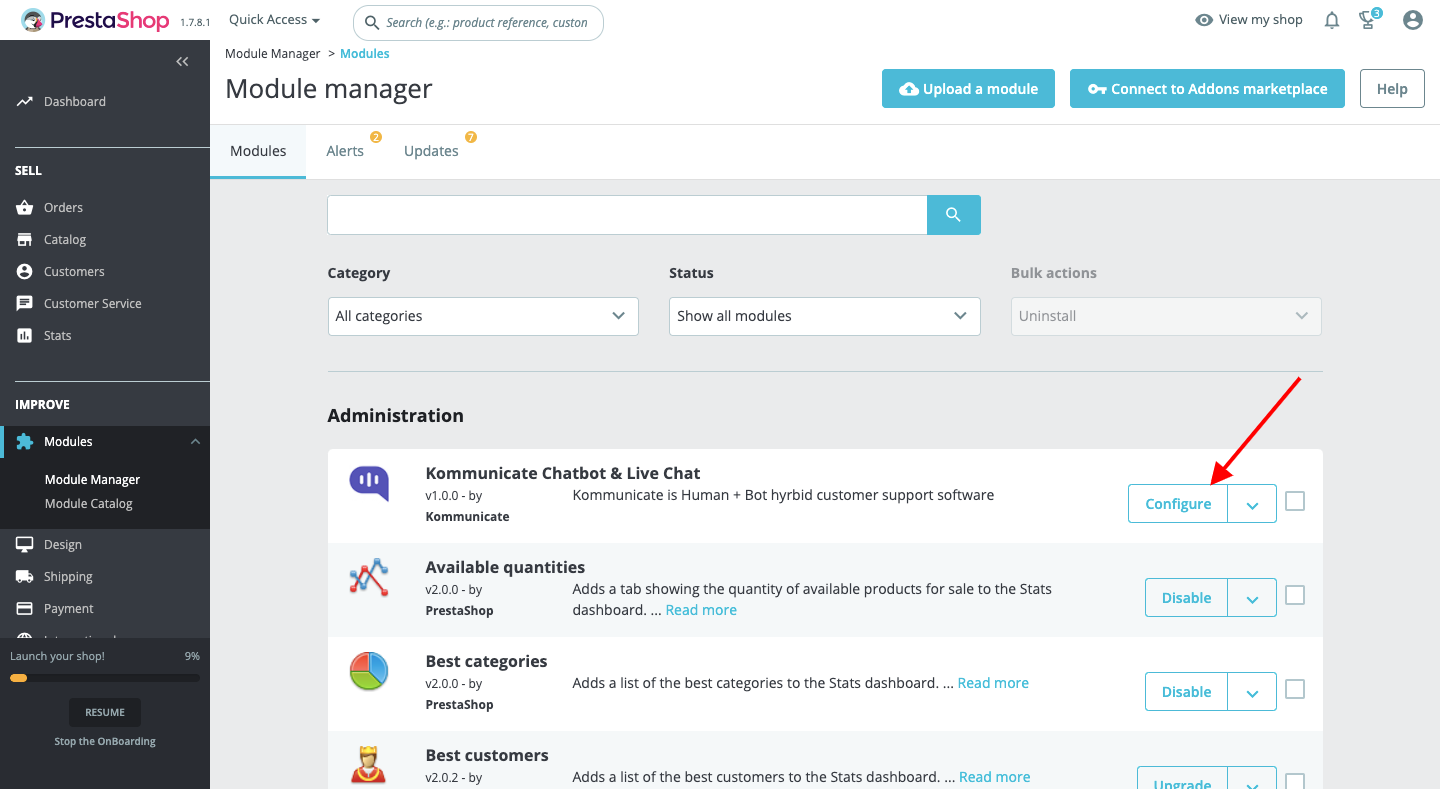
Step 2: Search for Kommunicate in the Module catalogue by going to the Module selection page and searching for "kommunicate" in the search bar.
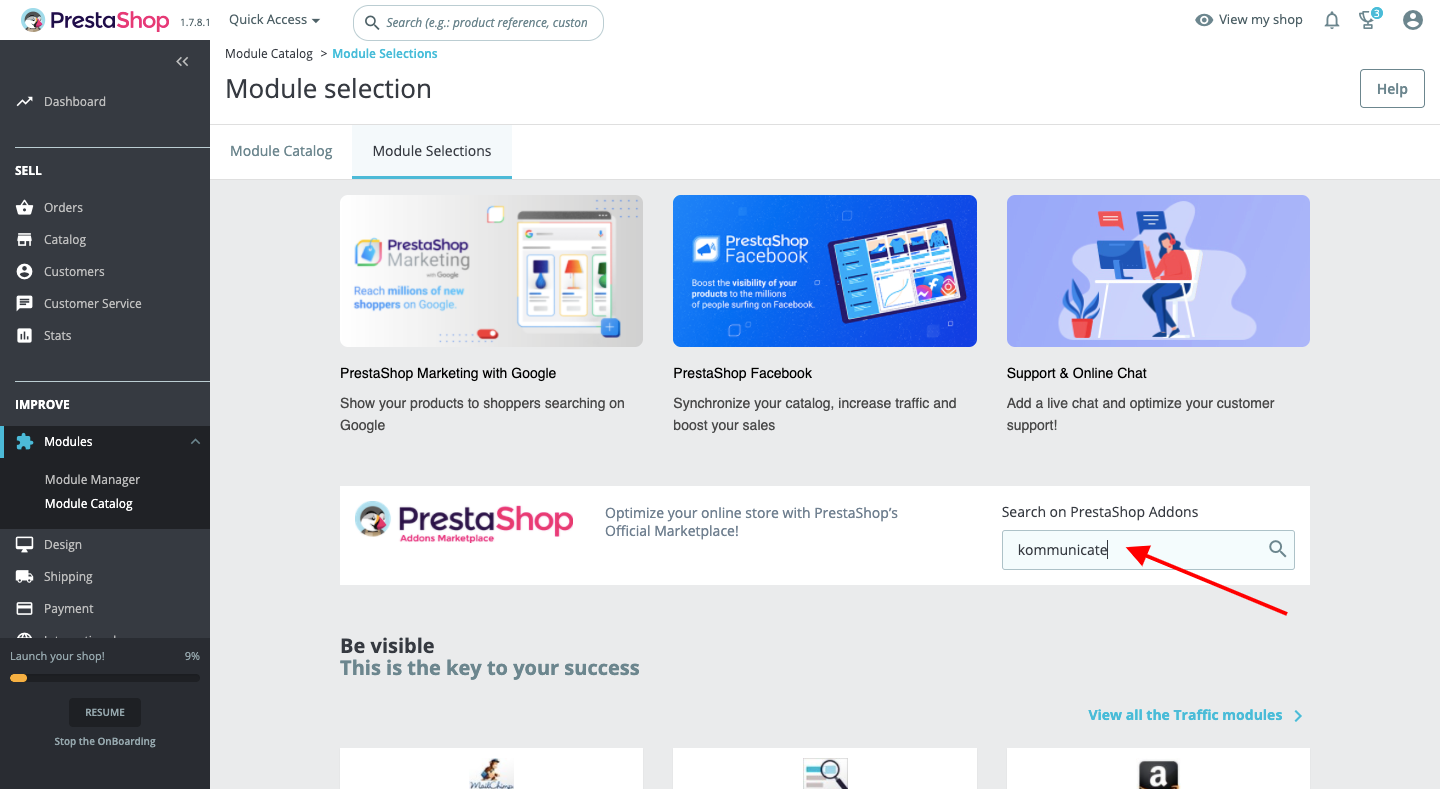
Once you have found it, you will have to configure your newly added Kommunicate module by clicking Configure.
Step 3: You will need your Kommunicate APP_ID for this part. to get your APP_ID, go to your Kommunicate Dashboard> Settings and then click Install. your APP_ID will appear on the screen, which you need to copy.
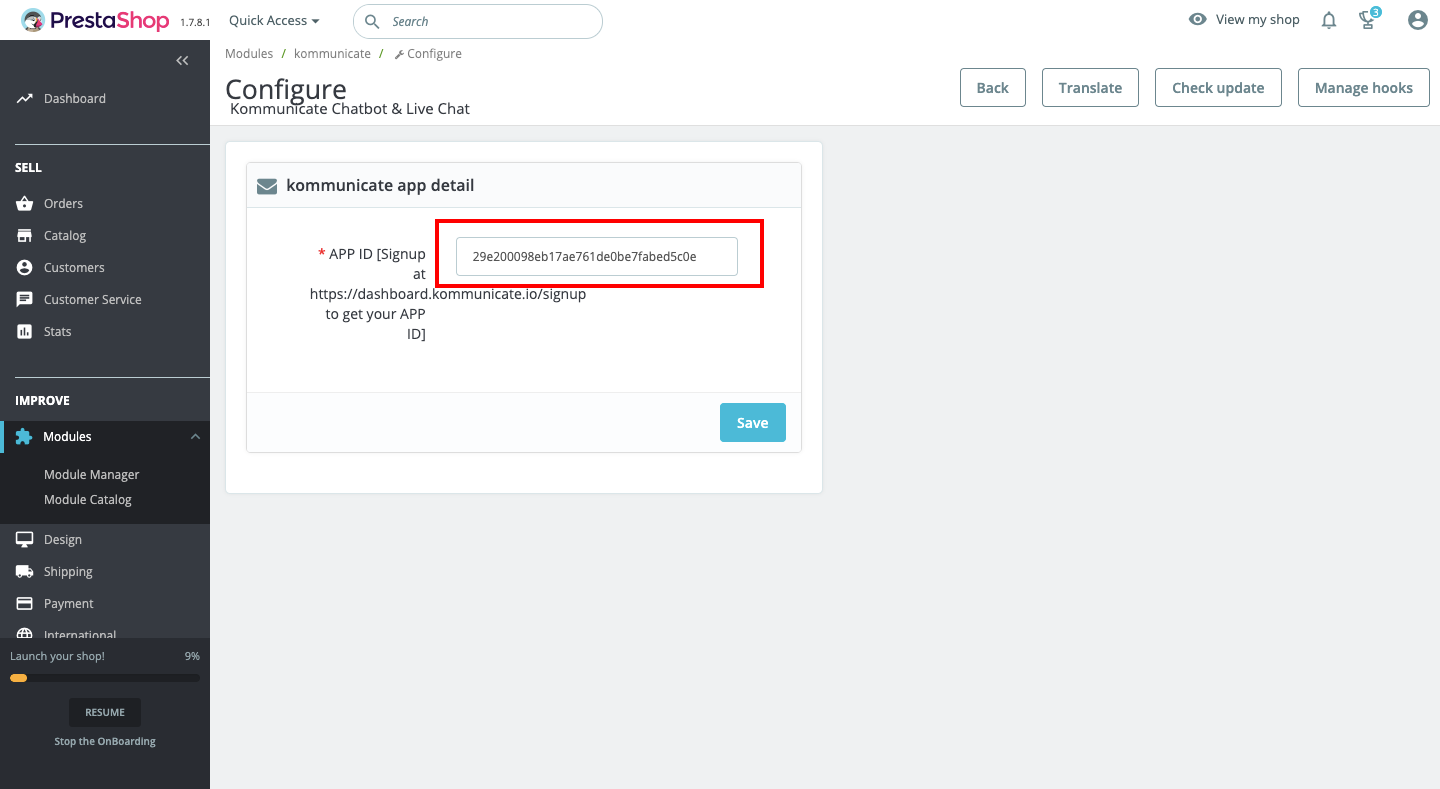
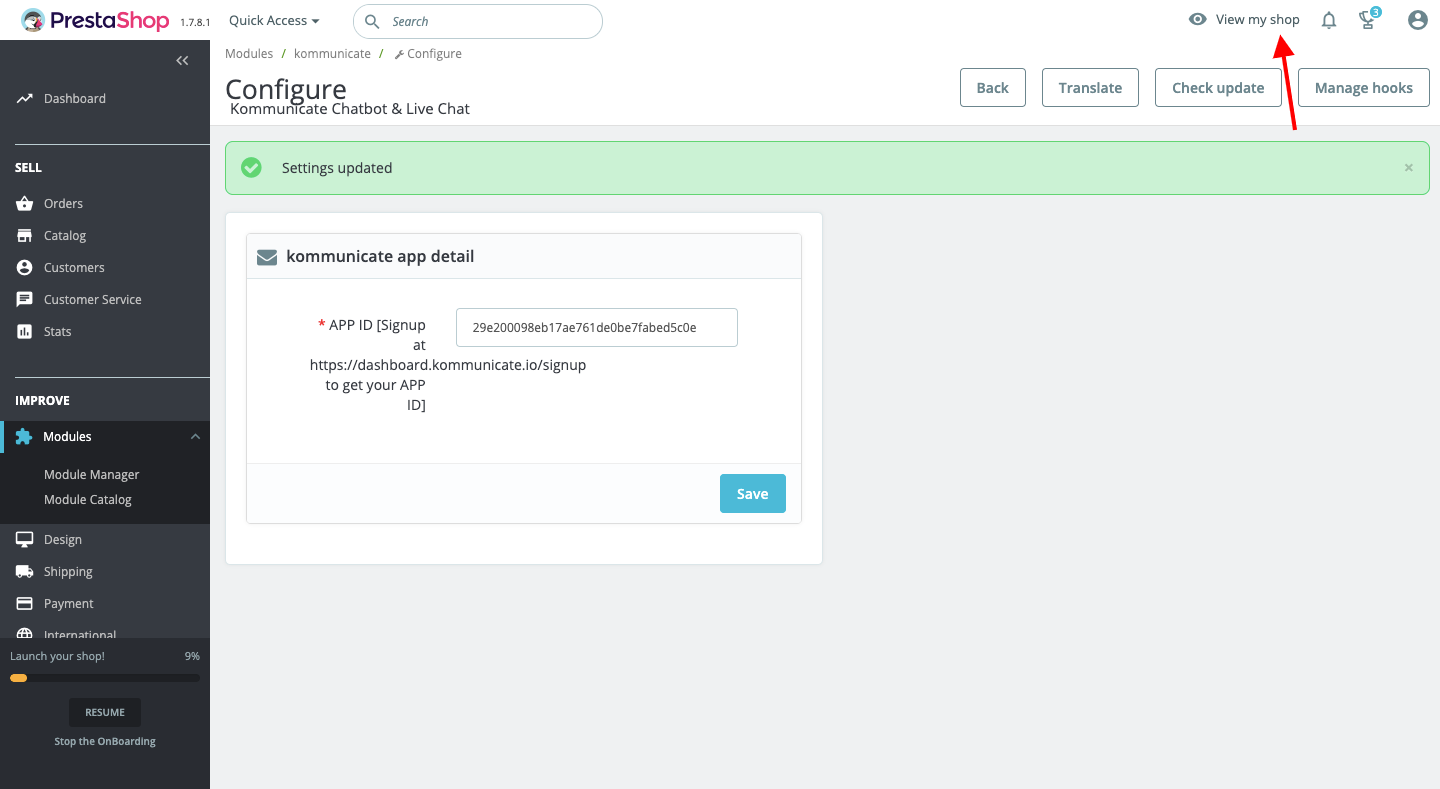
Step 4: Now go to your PrestaShop account, paste your APP_ID here, and boom, you have successfully added Kommunicate's Live chat widget to your PrestaShop marketplace.
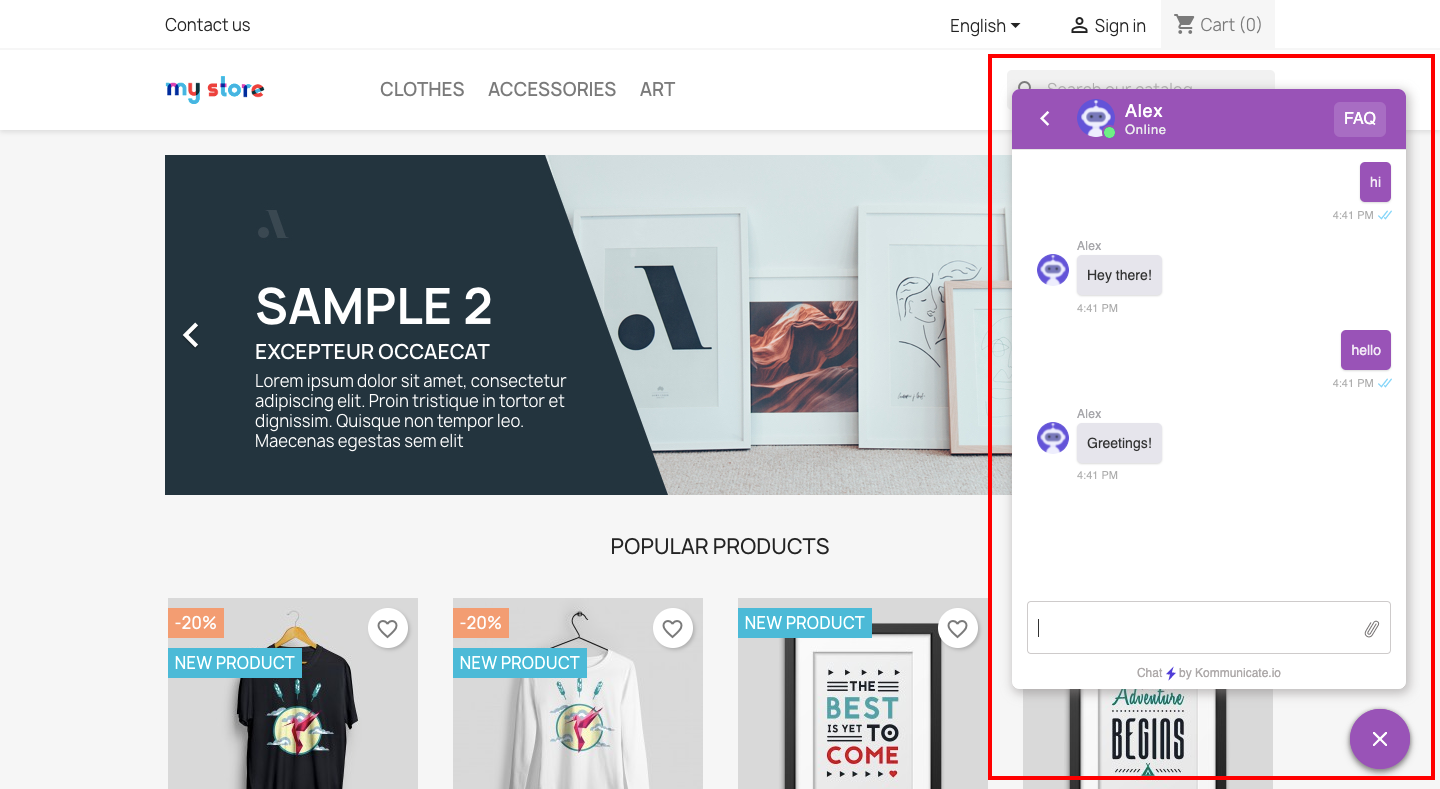
Here's the AI agent live in the store:
Magento
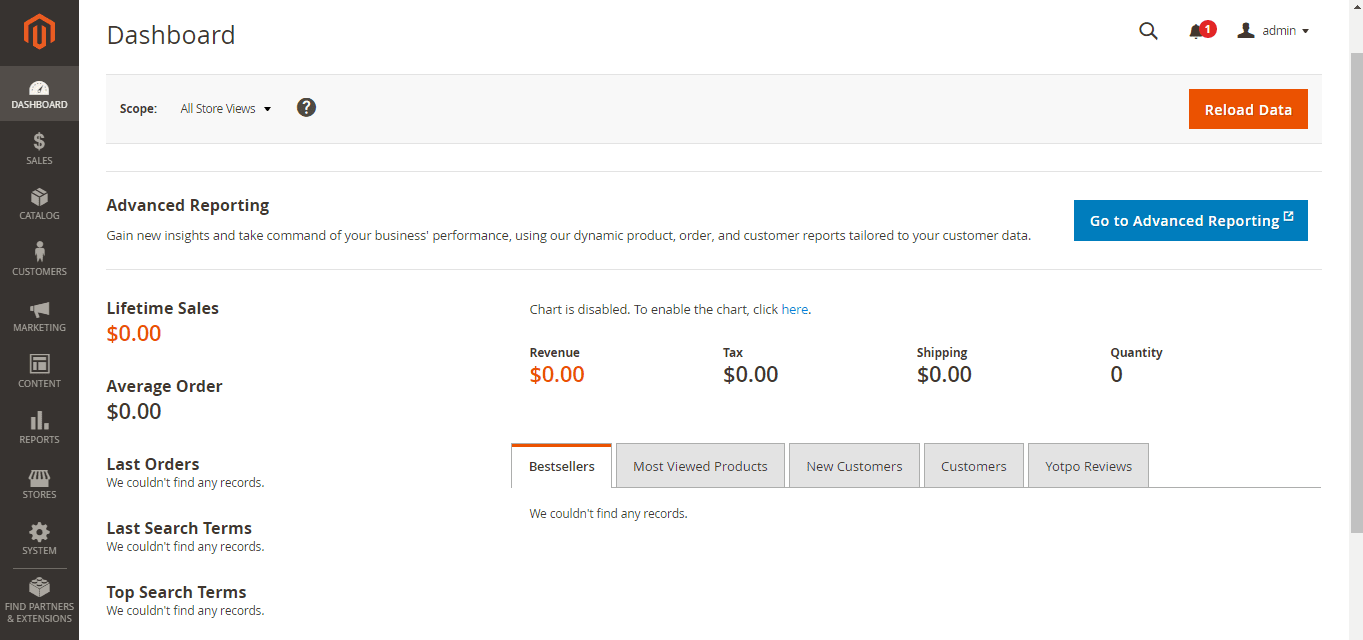
Step 1: Log in to your Magento admin panel
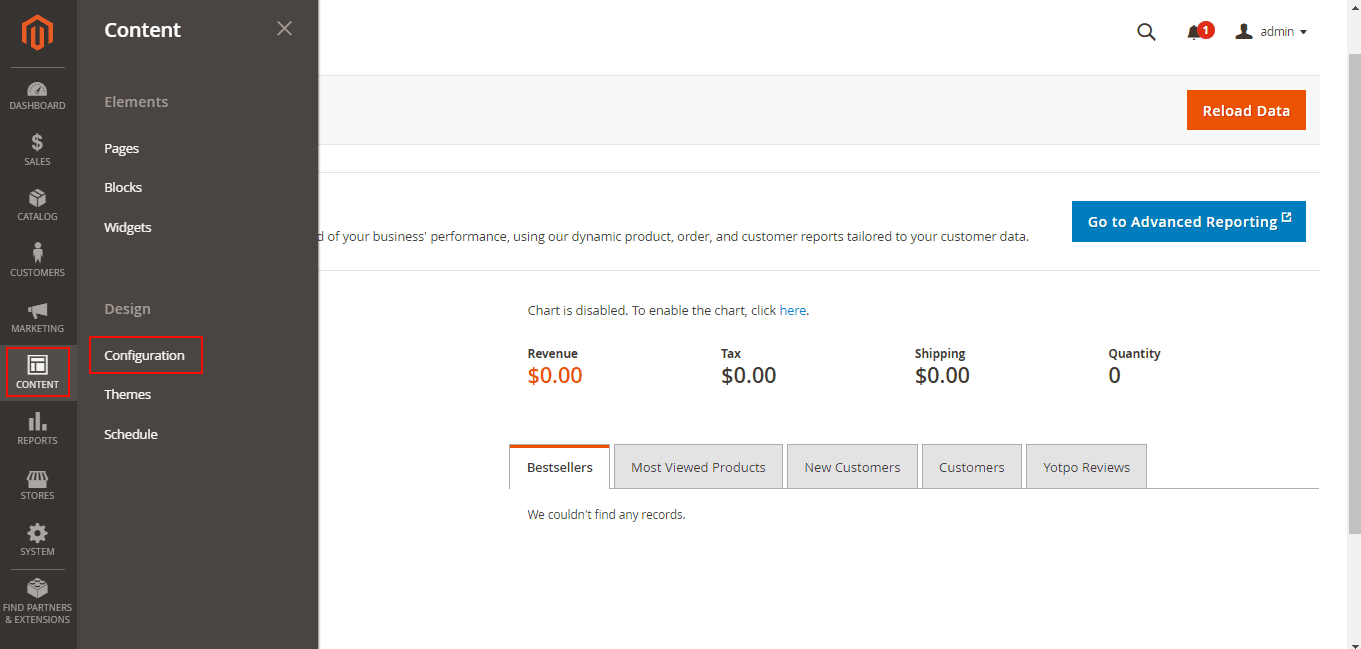
Step 2: From the left navigation panel, click the "CONTENT" option, and it will show a list of options under the "Design" section. Then click the "Configuration" option.
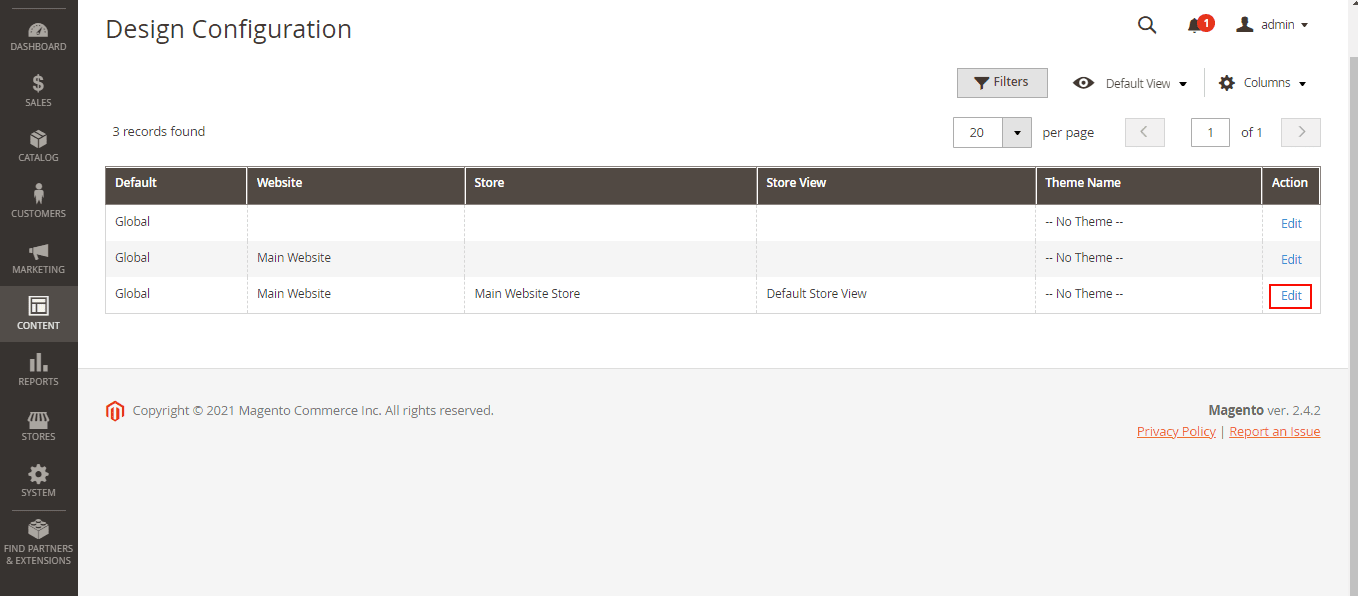
Step 3: You'll be navigating to the "Design Configuration" page. You would be able to see the list of your stores. Click the "Edit" option for the "Default Store View."
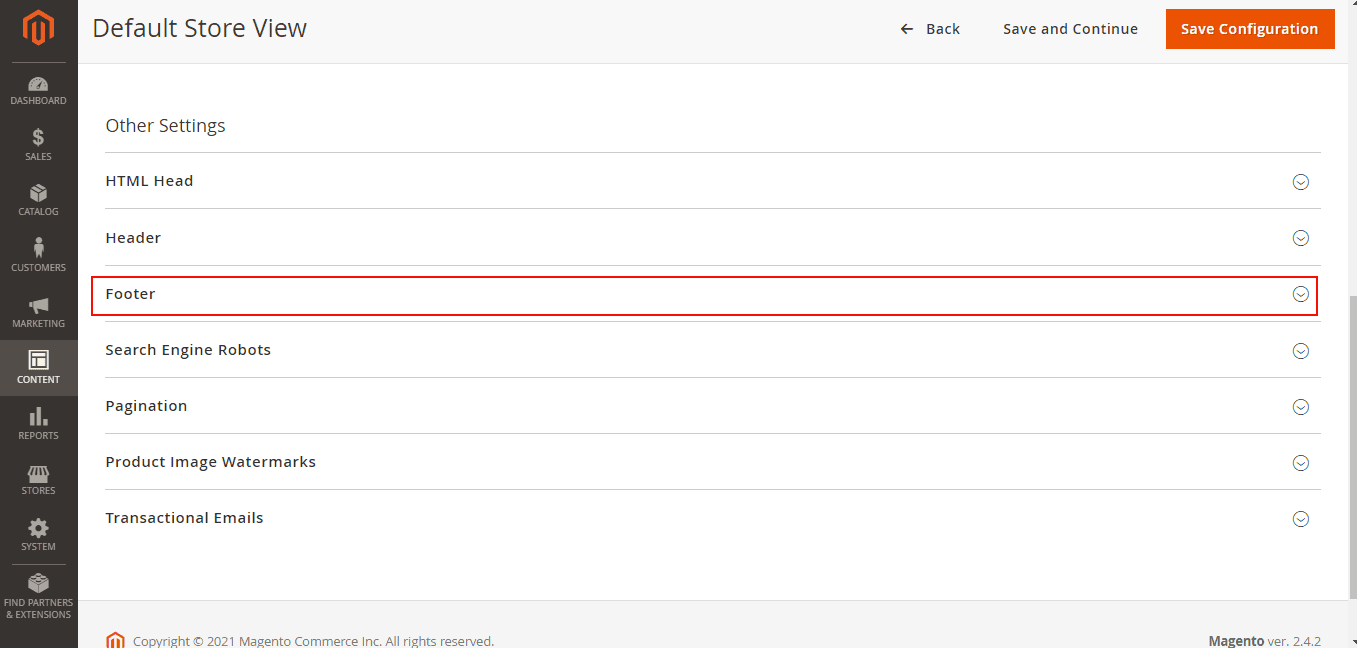
Step 4: Click the "Footer" option on the default store view page.
Open your Magento website, and the Kommunicate chat widget will be loaded along with your Magento AI agent.

BigCommerce
Step 1: Log in to your BigCommerce account here
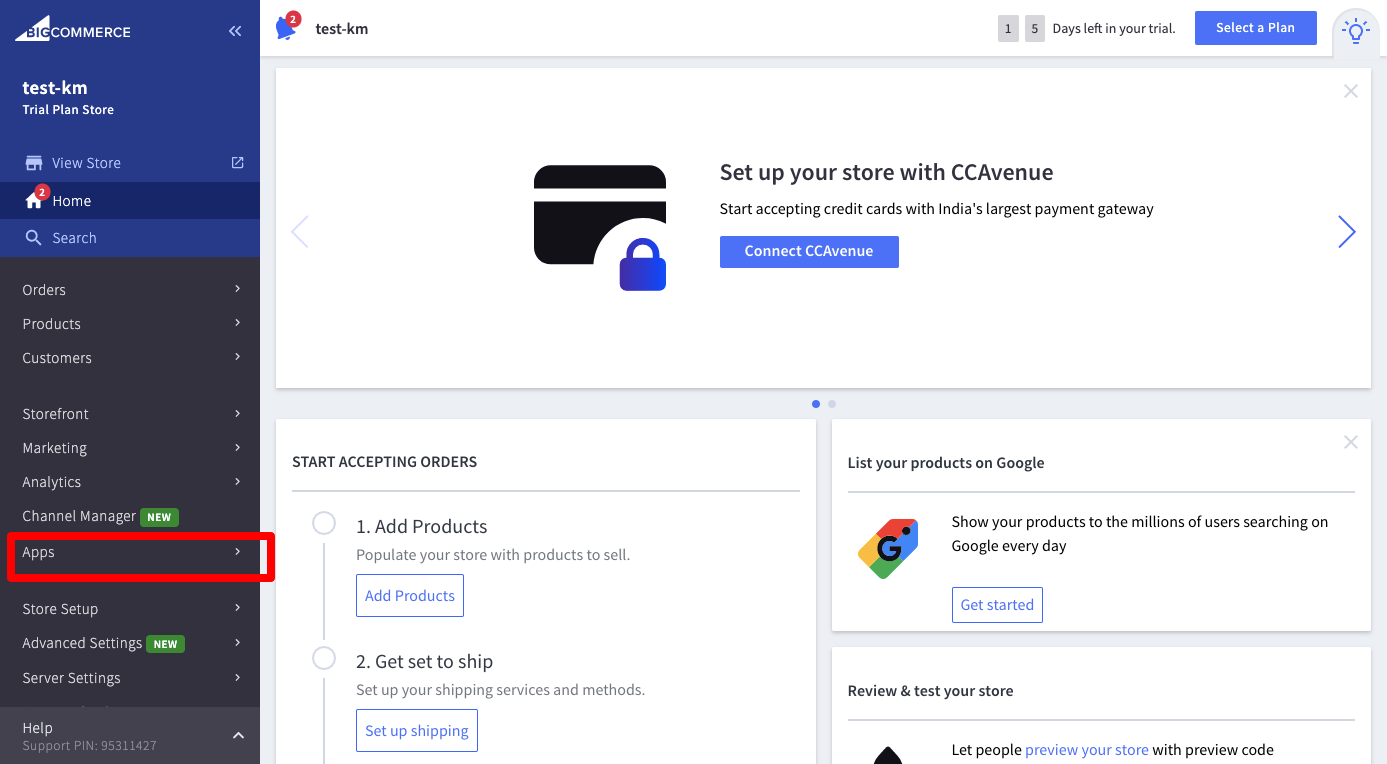
Step 2: Once you have logged into the BigCommerce dashboard, click on Apps in the lower left corner of the screen
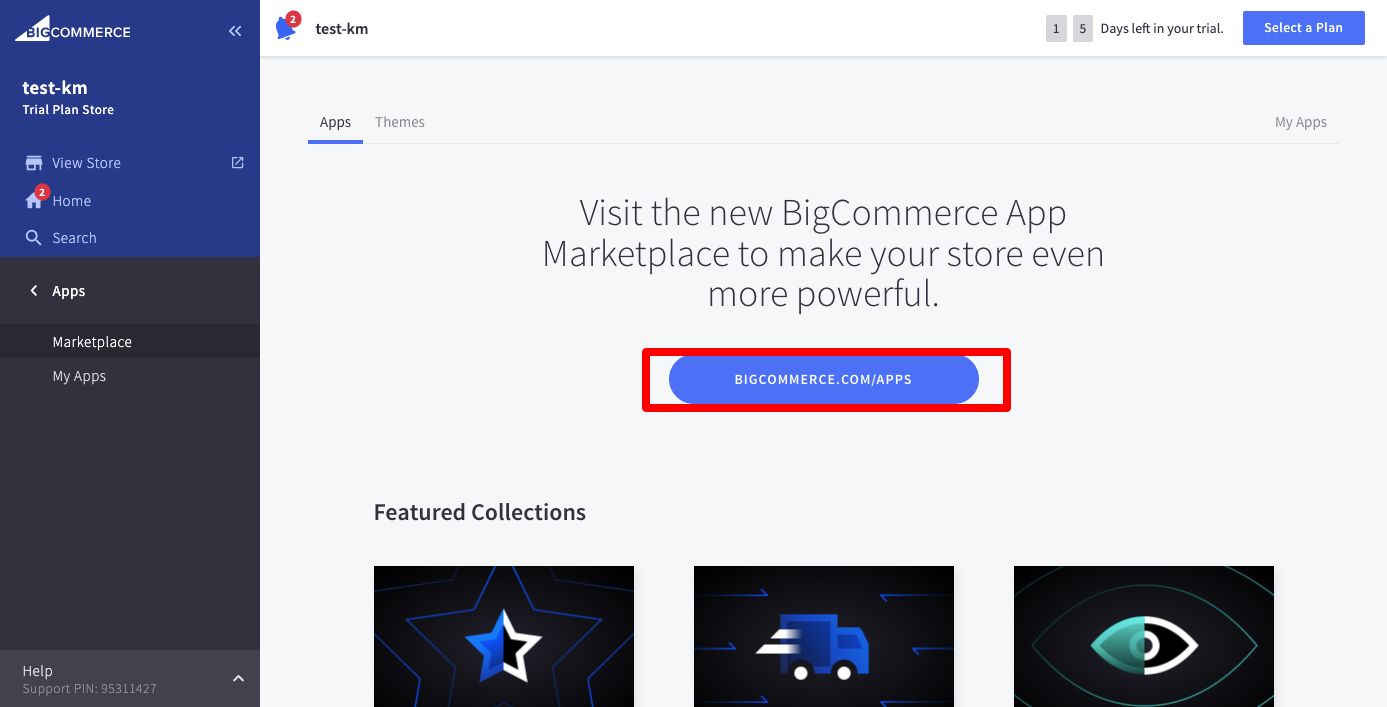
Step 3: You will be redirected to the BigCommerce Apps screen, in which you will have to click on BigCommerce/apps as shown below.
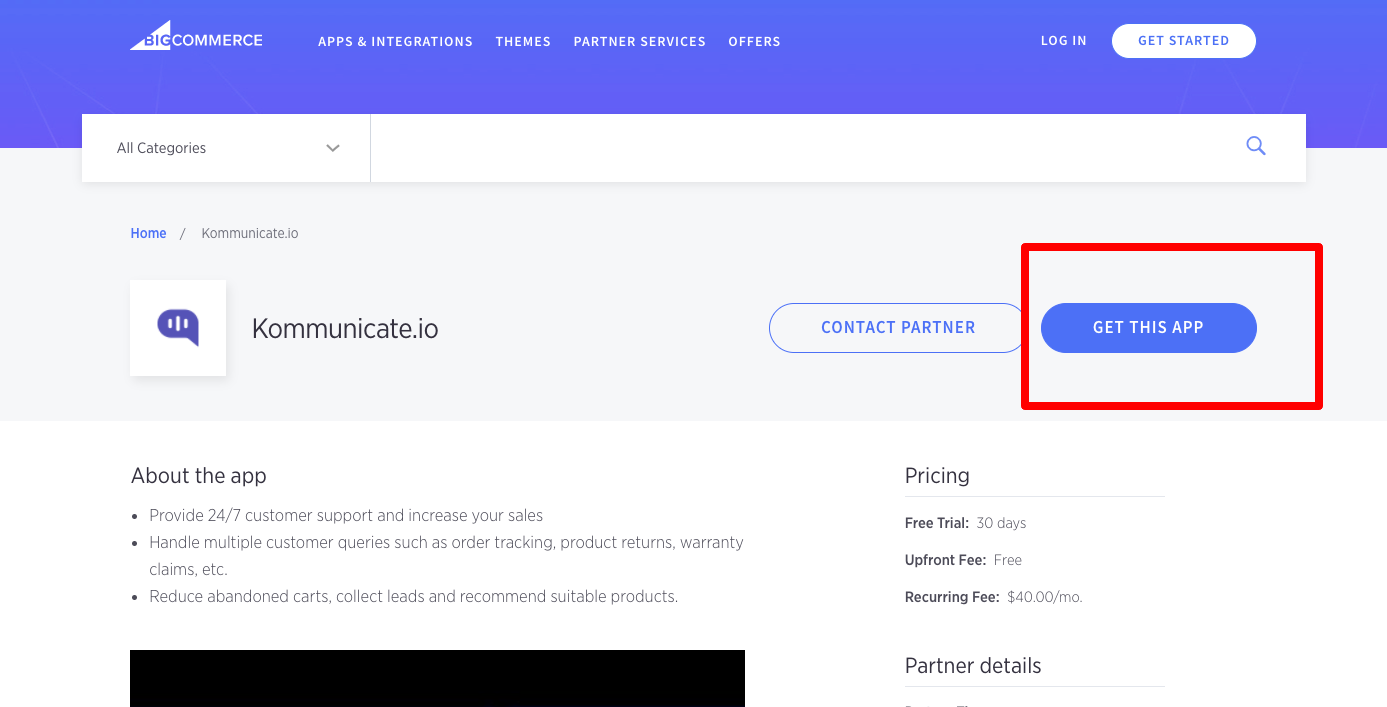
Step 4: Search for Kommunicate
Search for "Kommunicate.io" in the search bar, or open the Kommunicate BigCommerce app listing. The Kommunicate app appears in the search results. Install the app using "Get this App."
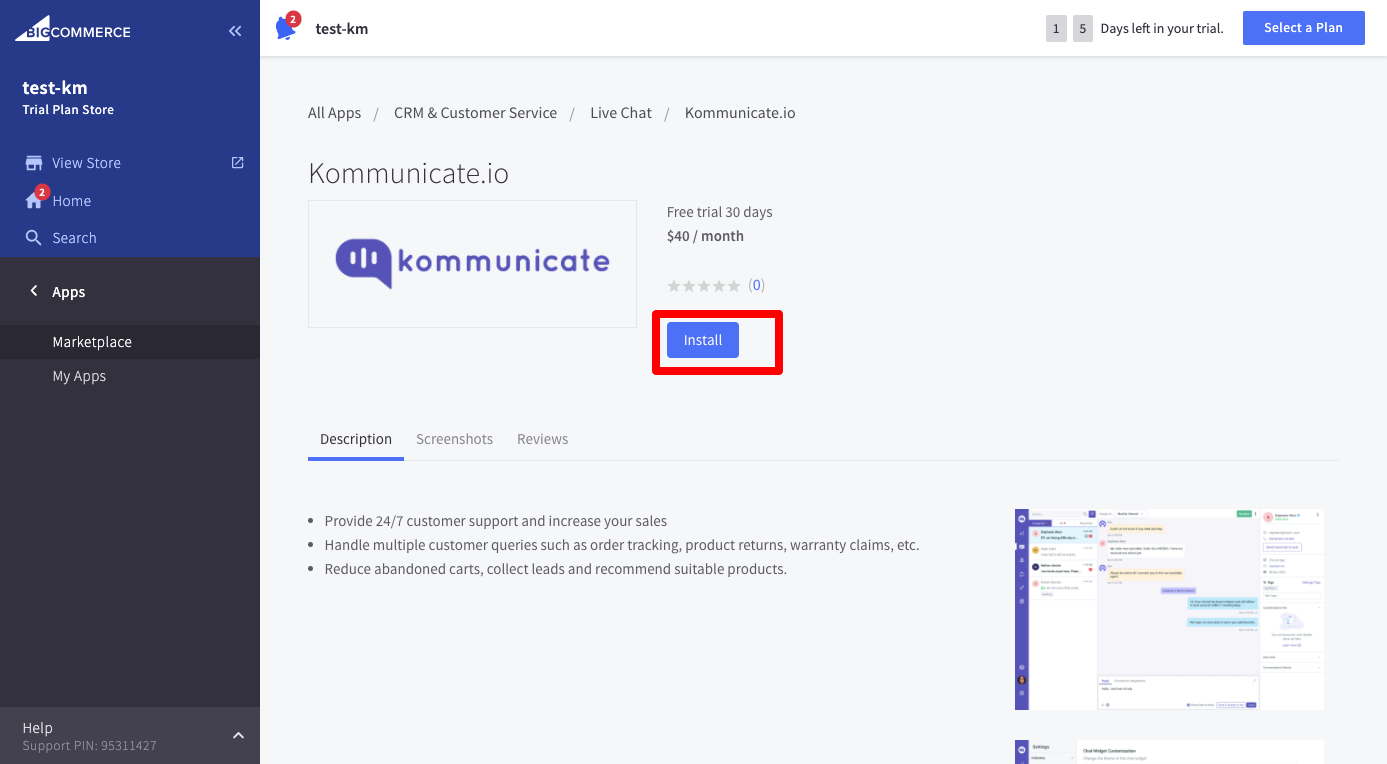
Step 5: If you are logged into BigCommerce or if you have a BigCommerce store already registered, select "Existing BigCommerce Store." If you are new to BigCommerce, select "SignUp." If you are an existing user, you will be redirected to the BigCommerce dashboard. From here, click the "install" button as a preliminary step in installing the Kommunicate chat widget.
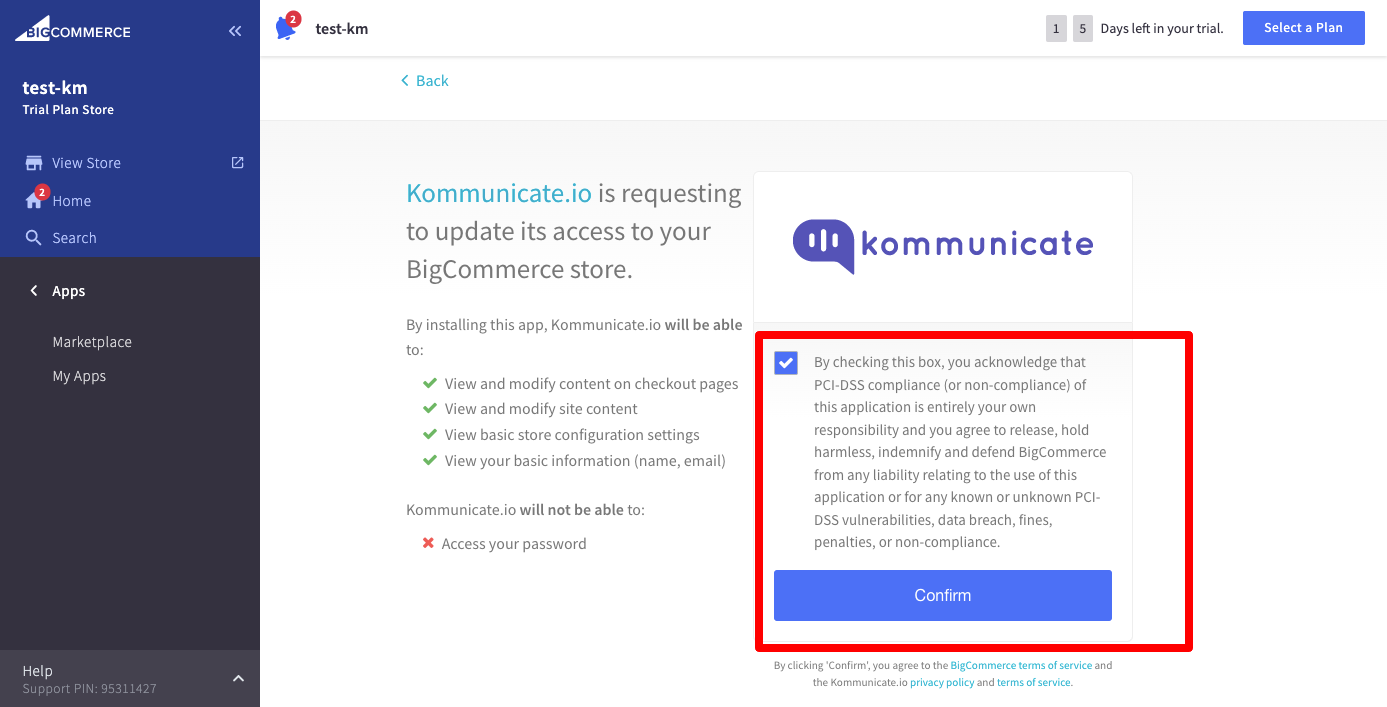
Step 7: You will be redirected to the access page where you will have to grant access to some of the site's features to Kommunicate. Just check the button to the right of the screen and click "Confirm" button.
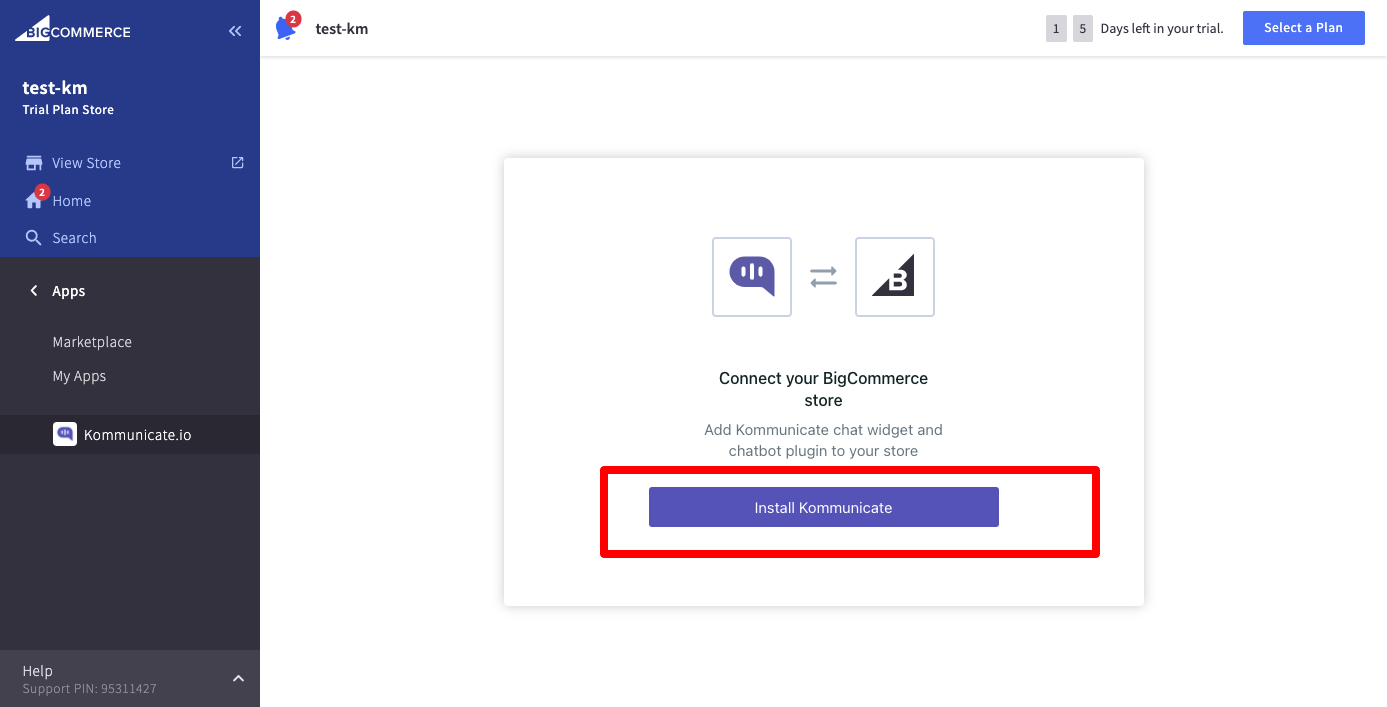
Step 8: You will be redirected to the page where you can connect the Kommunicate chat widget to your BigCommerce store. Click on the "Install Kommunicate" and boom, you can now navigate away from the BigCommerce site.
Step 9: If you wish to verify if your chat widget has been installed correctly, you will have to log back into the BigCommerce page. the Dashboard would display the message, "Kommunicate chat widget has been successfully installed."
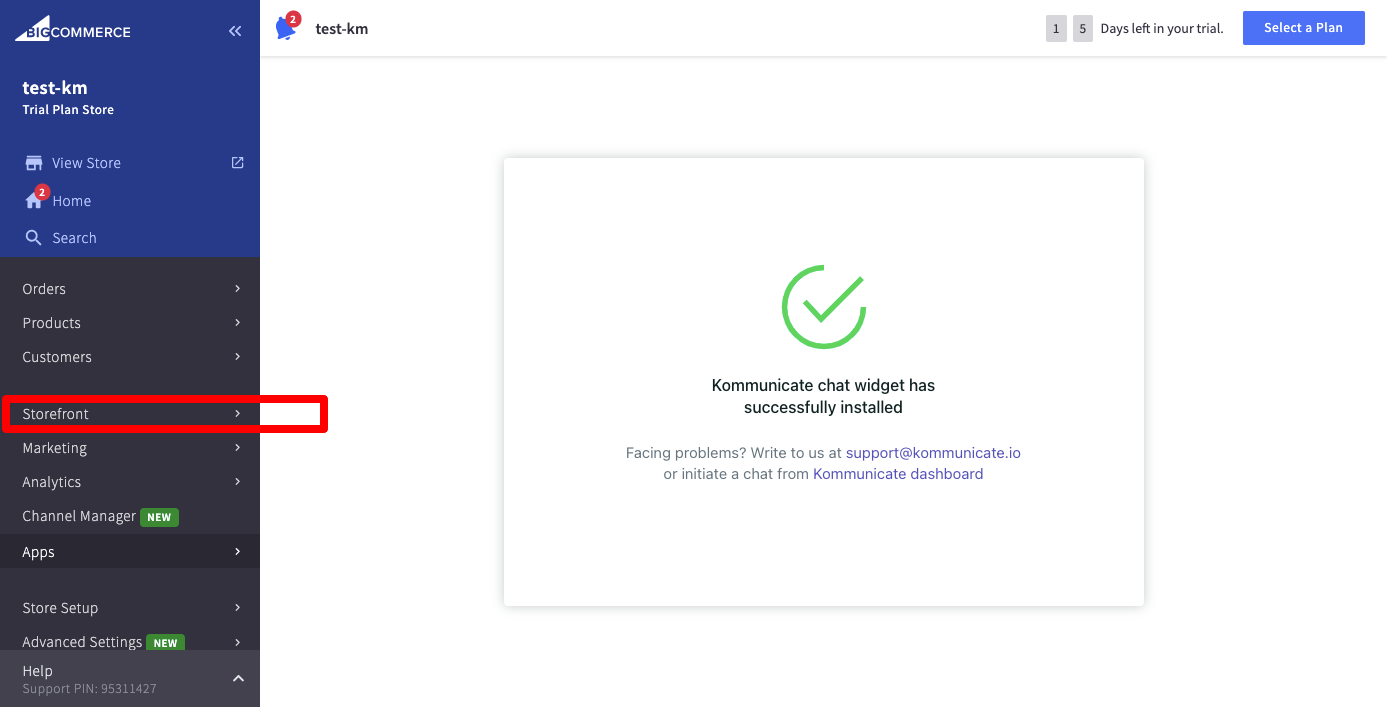
Step 10: Navigate to a storefront on the left side of the screen, as shown above
Step 11: Under the "My Themes" tab, click on customize and you will be taken to the sample store with your chat widget already loaded onto the website.
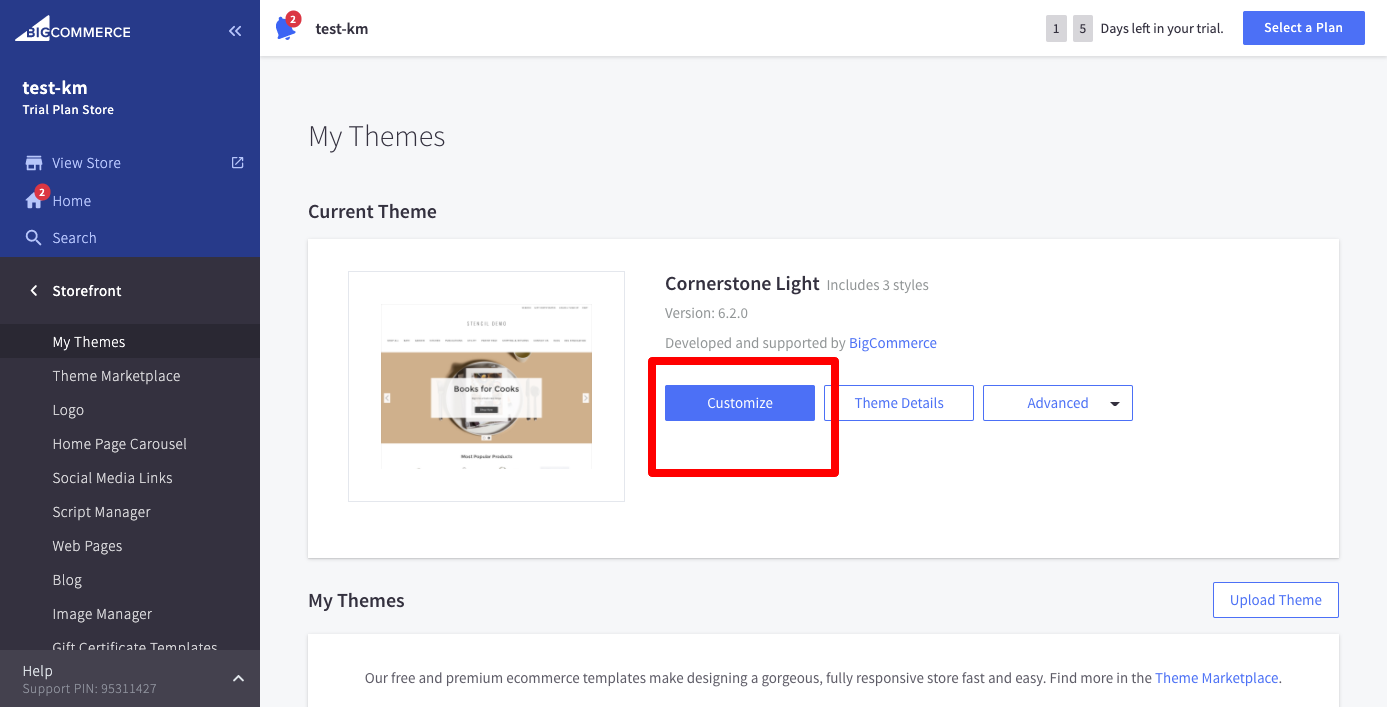
Step 12: your AI agent will now appear on the storefront, as shown below
Weebly
Step 1: Log in to your Weebly account
Log in to your Weebly account and open your Weebly console.

Step 2: Open the Edit/design section
Click on the "Edit Website" button or "Design your website" option; it will show all the website pages.

Step 3: Add Section
Locate the Add Section option and open it.

Step 4: Open the Embed Code Section
Locate the Embed Code section in your console and select the "Embed code" page section.

Step 5: Add your Live Chat Script Here
Paste your Kommunicate live chat code snippet in the Embed code section, as shown in the image below.
To get Install script - go to the Install section and copy the script.

Step 6: Publish your Website
Now navigate back to your Weebly console and click on Preview or Publish at the top of the panel. You can see your chat widget there.

You can now view the Kommunicate live chat widget on your Weebly website, and this is how it is going to look:

GoDaddy
Step 1: Log in to your GoDaddy account
Then click the My Products under the account user dropdown option at the top
Under the All Products and Services section, you can see the Websites section. Click Manage under your websites

Step 2: Add Website
Then Click Add Website or sometimes it will be Edit Website in the Website Builder and start editing

Step 3: Add Section
Now Click the PAGE section and select the page you want to add the Kommunicate live chat and then select the Add Section

Step 4: Choose HTML and click Add button

Step 5: Add live chat script
Now, paste your Kommunicate live chat code snippet in the Custom Code field

To get Install script - go to the Install section and copy the script.
After pasting the Custom Code field, you can specify a height for the chat widget iframe in the Forced Height section.
Now, click Done at the top of the website builder panel

Click Preview or Publish at the top of the panel, you can now view the kommunicate live chat widget on your GoDaddy website

Joomla
Step 1: Log in to your Joomla administrator panel
The Administrator interface can be opened by appending the word administrator to the URL of your Website or Server IP.
For example, http://www.mentionyourwebsiteURLhere.com/administrator Or http://159.65.151.55/administrator
Step 2: Select 'Templates'
Then, Go to "Extensions" and click "Templates" from the drop-down

Then select the required template for your site.
For example, Template - Beez3 Details and Files

Step 3: Click on the "index.php" file on the left side menu

Then, scroll to the bottom on the "index.php" file, you can find