
Google CES (CX Agent Studio) integration
This guide explains how to integrate a Google CES (CX Agent Studio) agent with Kommunicate.
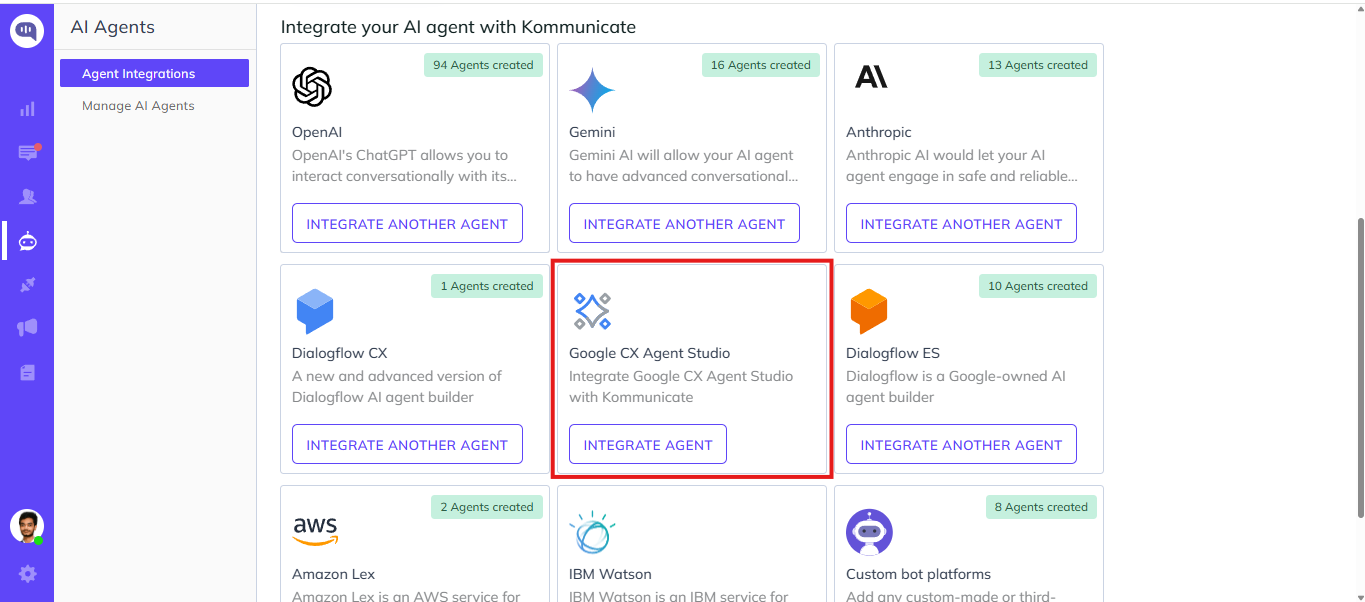
Step 1: Open agent integrations
Log in to the Kommunicate Dashboard and open Agent Integrations.
Locate Google CX Agent Studio, and then click Integrate Agent.
The integration screen contains the following fields:
- Service Account JSON
- Region
- Language
- Agent ID
- Deployment ID
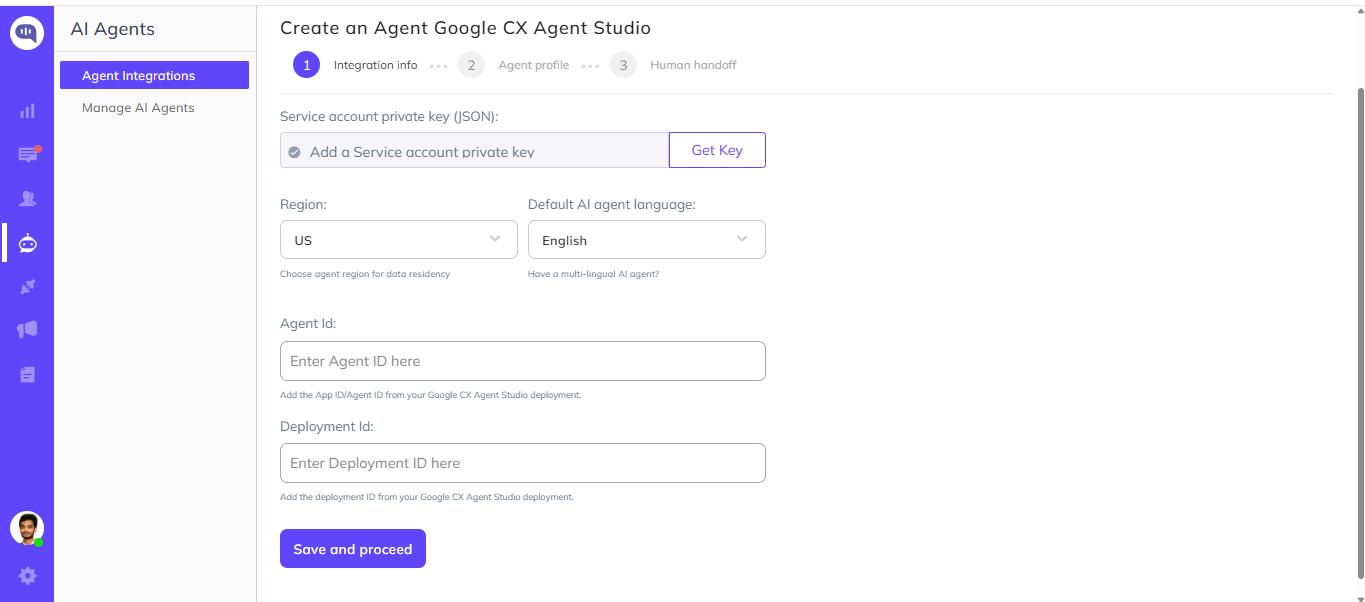
Step 2: Configure the integration
The integration requires a Google Cloud service account JSON file, an agent ID, and a deployment ID.
Complete the following sections to obtain each value.
Step 2.1: Create a Google Cloud service account
Sign in to your Google Cloud Console.
Navigate to:
IAM & Admin → Service Accounts
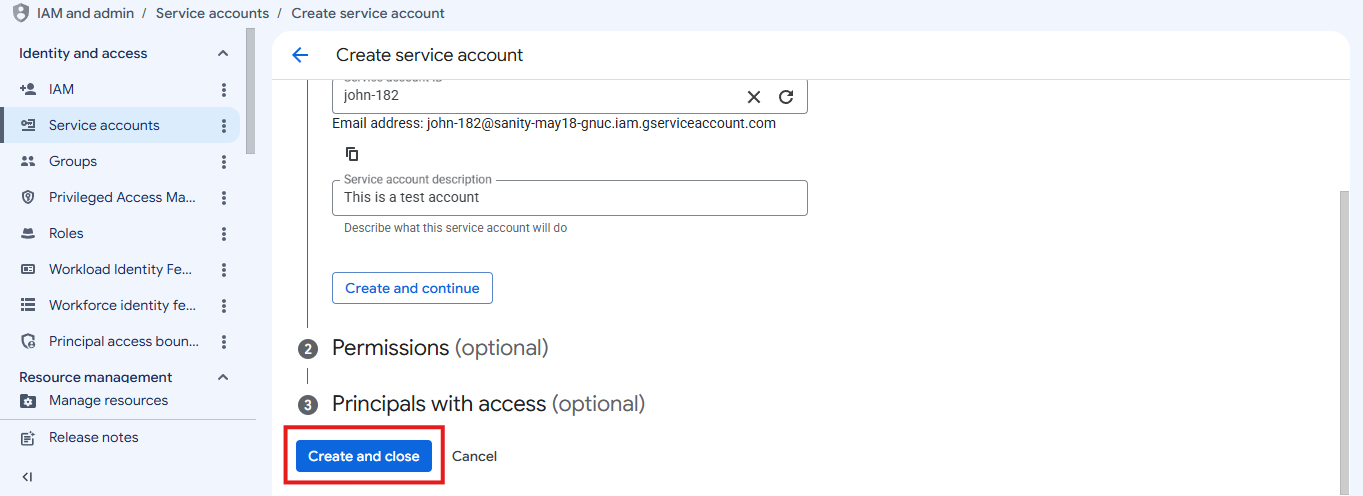
Click Create Service Account.

Enter:
- Service Account Name
- Service Account ID (auto-generated)
- Description (optional)
Click Create and Continue.
Assign the Owner role. Click Create and close.
Note
Ensure the service account has sufficient permissions to access your deployed CX Agent.
Step 2.2: Generate a JSON key
Open the service account that you created.
Navigate to:
Keys → Add Key → Create New Key. Select JSON as the key type. Click Create.
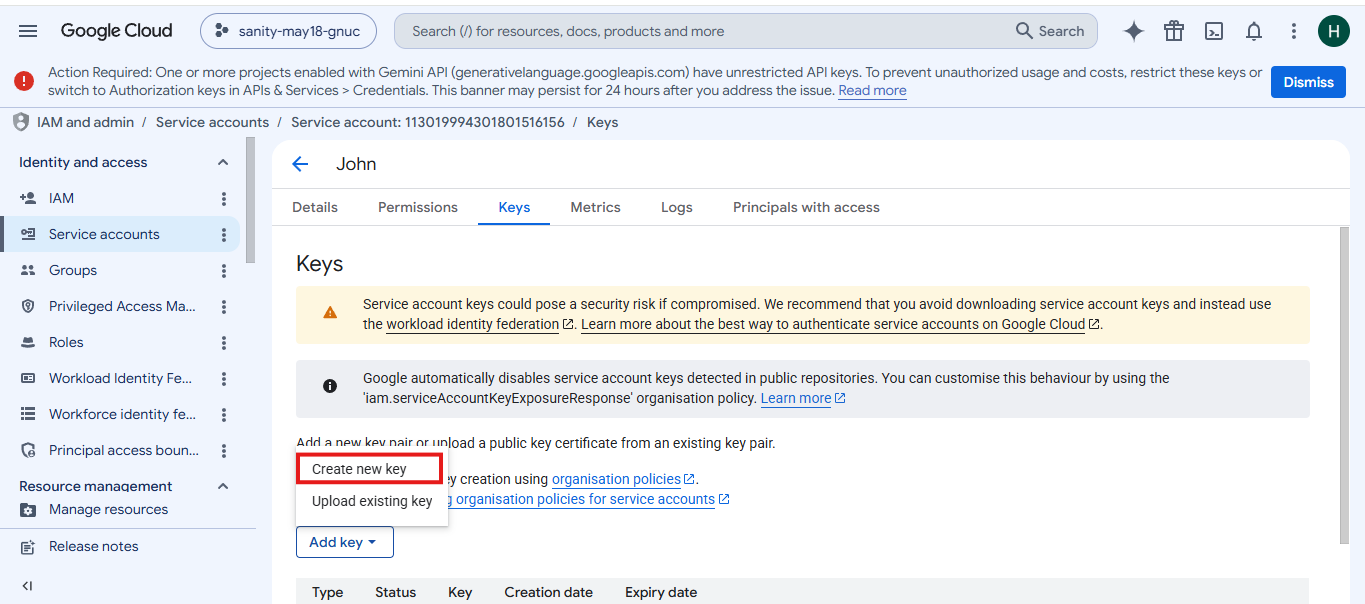
The JSON key file will automatically download to your computer.
Keep this file secure. Kommunicate uses it for authentication.
Step 2.3: Upload the service account JSON
Return to the Kommunicate integration page.
Click Get Key.
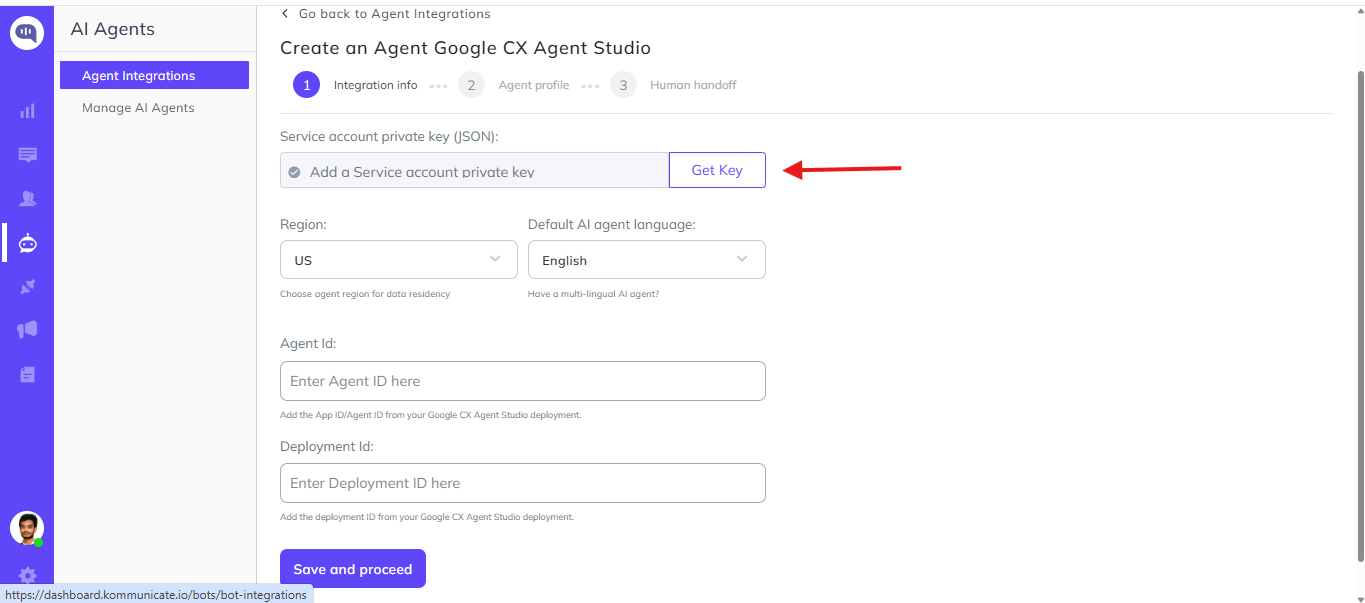
Select the downloaded service account JSON file.
After uploading successfully, proceed to the next step.
Step 3: Get the agent ID and deployment ID
Open your Google CX Agent Studio project. Navigate to the deployed agent. Open Deployed Channels. Open the Test Command popup.
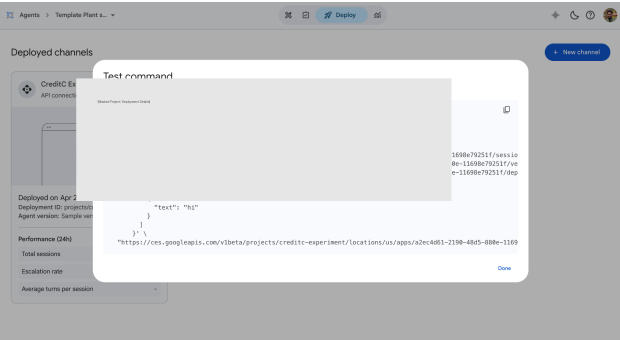

Copy the deployment path.
It will look similar to:
projects/project-name/locations/us/apps/11698e79251f/deployments/8a4add8776e7
In this example, the agent ID and deployment ID are:
- Agent ID =
11698e79251f - Deployment ID =
8a4add8776e7
Copy both values.
Step 4: Complete the Integration
Return to the Kommunicate Dashboard.
Fill in all the required fields.
| Field | Value |
|---|---|
| Service Account JSON | Upload the downloaded JSON file |
| Region | Google Cloud Region where the agent is deployed |
| Language | Default language configured for the agent |
| Agent ID | Copied from the deployment path |
| Deployment ID | Copied from the deployment path |
After entering all the details, click Save.
Kommunicate will validate the configuration and connect to your Google CES agent.
Summary
The integration process consists of four steps:
- Open Google CX Agent Studio integration in Kommunicate.
- Create a Google Cloud Service Account and upload the JSON key.
- Retrieve the Agent ID and Deployment ID from the deployed agent.
- Save the configuration and verify the integration.